
Mistakes you might be making as a photographer

Photography is an art, there is no doubt about that, but that doesn’t mean that there isn’t technique and technical aspects to master. There are definitely considerations when it comes to the difference between amateur and professional photography and the below are a few things I see beginning photographers doing or mistakes I made myself at the beginning that might be hindering our art.
Mistake #1: Your aperture is too low
While it is true that a wide open aperture (lower number) can create beautiful bokeh and dreamy images with blurred backgrounds, always shooting with your aperture at a low number (what we consider “wide open”) could mean that your subjects themselves will be out of focus, especially when you have multiple subjects, or you are shooting close to your subjects. If you find that not all of your subjects are in focus, first step back, always focus on the person closest to you and try to keep all the people on the same focal plane, but you also may need to increase your aperature.

This was shot with a low aperture (2.8) to allow more light, but all of the subjects are pretty much on the same focal plane.
Mistake #2: Shooting at the wrong time of day
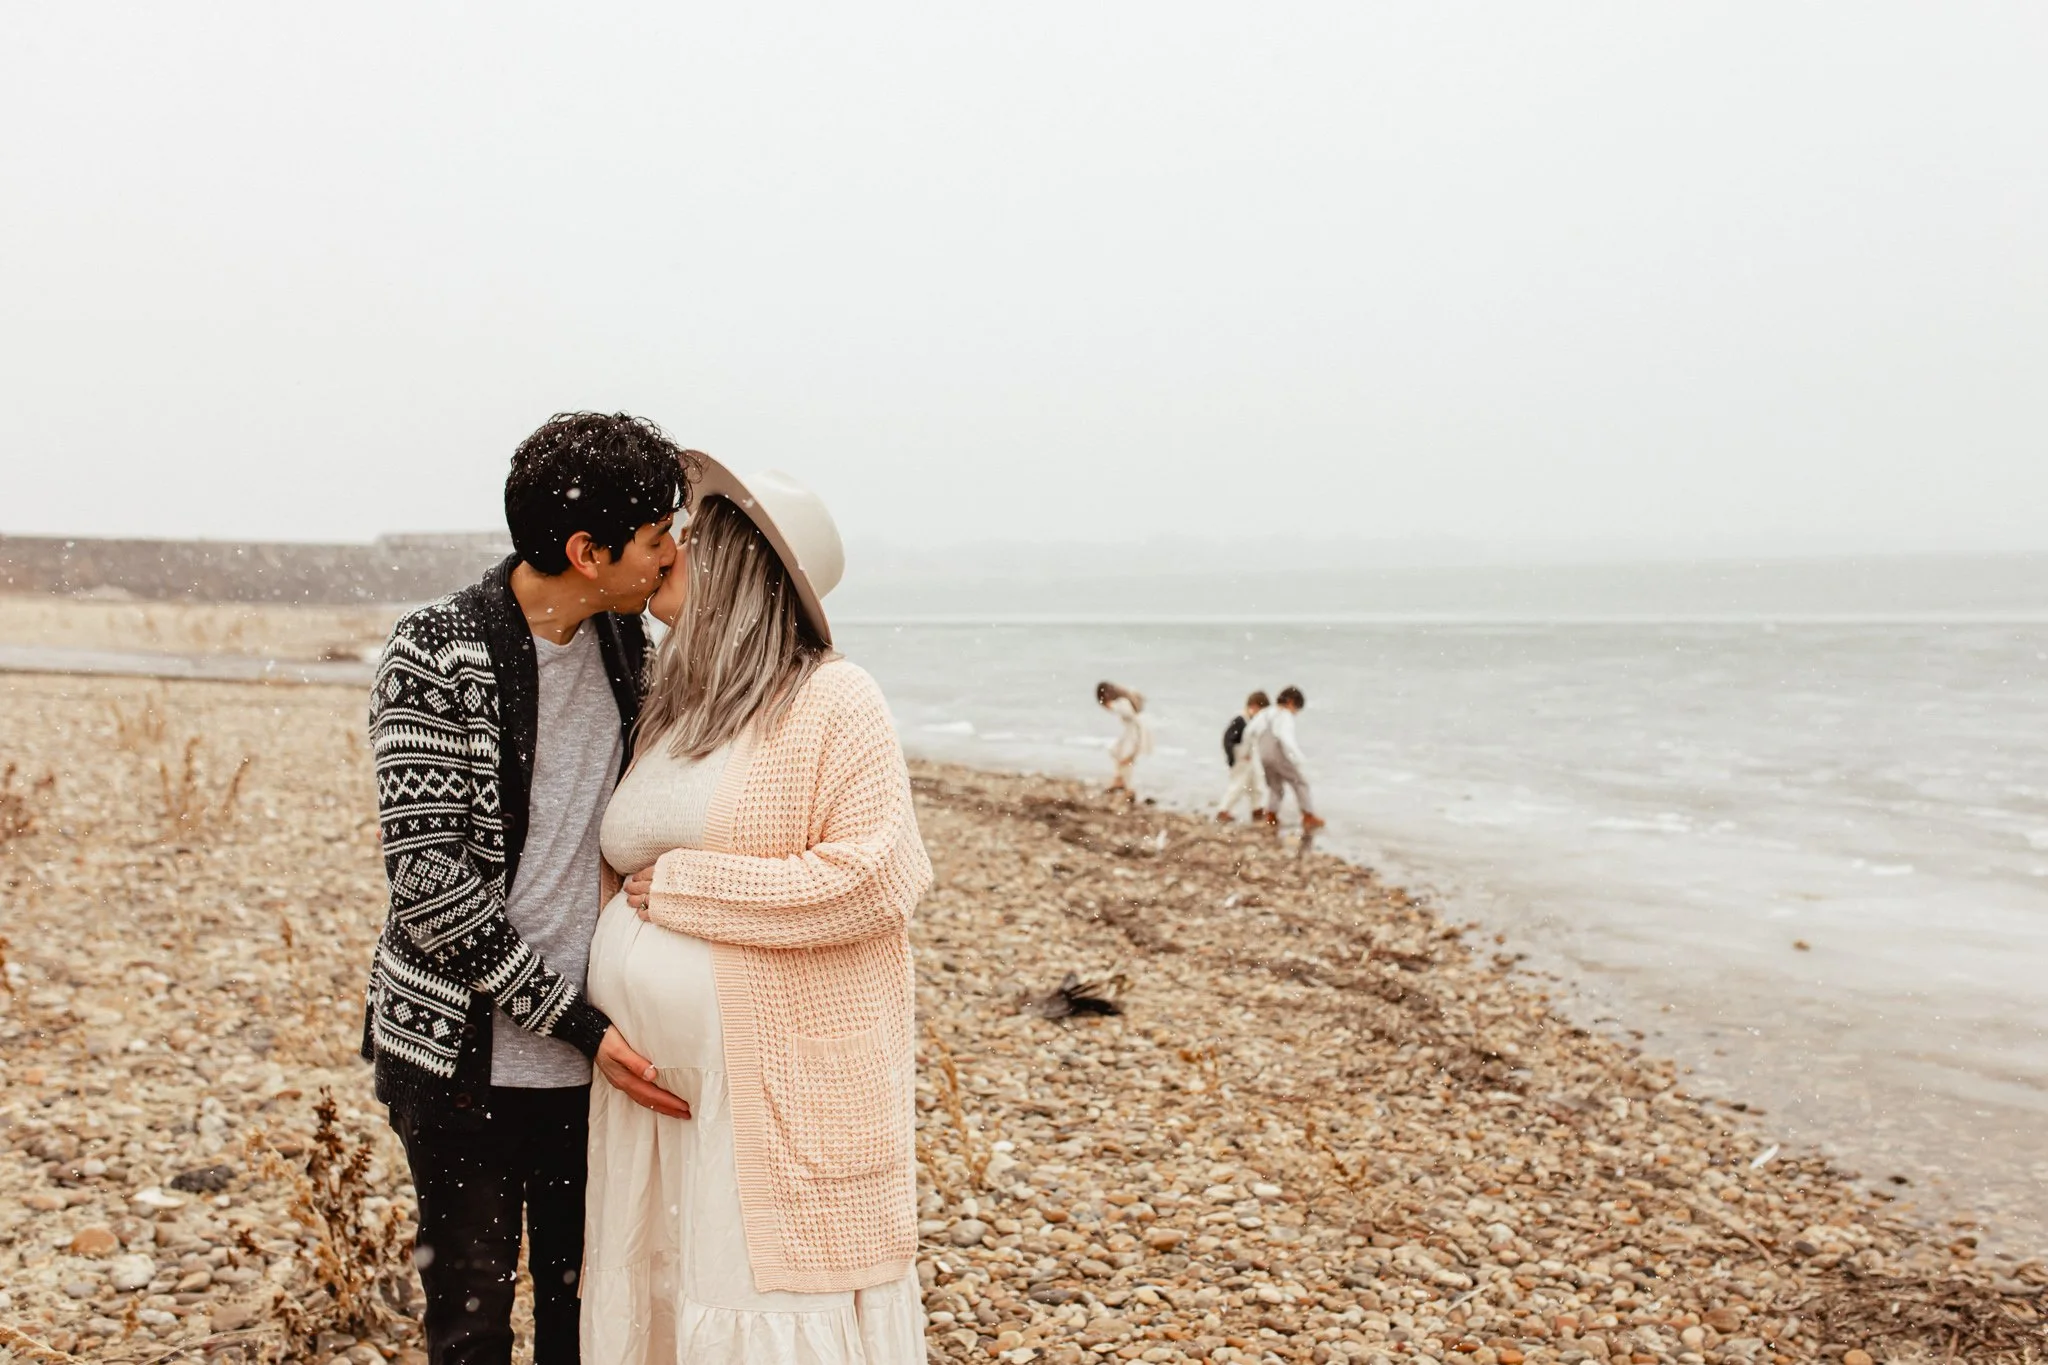
Every photographer I know aims to schedule sessions around “golden hour” or that time of day about 1 hour before sunset. It’s not just that we have a weird obsession with this time of day, rather there are very specific reasons for shooting at this time. I’ve found that it creates the most flattering light and shadows on my subjects. You can often filter sunlight through trees, or other objects so as to create a softer sun flare and you can even front light your subjects (especially if there are clouds or the sun has just gone down) without it being too harsh. Shooting at midday, late afternoon or even early evening can result in light that is too harsh, colors being too “neon” (think when green trees and grass end up looking yellow) and hard shadows on your subjects faces. Additionally, the ideal time will very by location. If you are shooting in a very wooded area, you may want to schedule for earlier in the evening as it may get too dark close to sunset. Also, you will want to schedule a bit earlier if you are shooting in an area where mountains or hills will block the sun before the sun actually sets.

When shooting in direct sunlight, it is ideal to wait until just before the sun dips below the horizon, and to backlight your subject.

Trees help filter the sunlight to create a warm glow and beautiful sun flare behind the subject.
Cloudy days provide more flexibility in what time photos can be scheduled because the clouds act as a natural diffuser of the sunlight.

“Blue hour”— the minutes directly after the sun has dipped below the horizon—can give some of the most beautiful soft light when facing your subjects toward the sunset.
Mistake #3: Not moving around to try different compositions and poses
I’ll admit, this is one that has been difficult for me. I am really guilty of what I call “safe shots” where I shoot my subjects from a distance and place them at the center of my frame. I may get a full body shot, then a tighter shot of just the top half of their bodies and then an even tighter shot of just heads. But some of my favorite shots are when I move around and shoot from above my subjects (while they are sitting), or I space them apart and shoot through my subjects (using them as a frame). I also like composing my shots so the subjects are to one side of the frame, especially when the background is especially epic.

Example of non-typical composition for family photography that shows the reality of motherhood with toddlers — getting down in the dirt with them.

Zooming in on specific details like little kid hands or feet help to tell the story and capture details that won’t keep forever.

Shooting your subject from above creates interest and typically ends up with flattering light falling on the subjects faces.

The subject is position to the left of center to space in the image for the incredible background.
Mistake #4: Not posing your subjects to flatter their bodies
Something to remember in photographs is that the object closest to the camera is often going to look the largest, and so your subject’s positioning, and the camera’s position in relation to them are going to be key. When shooting portraits of a woman, for example, I like to have the subject stand at a 45 degree angle to me so that one shoulder is a little bit closer to me. I then have her slightly tilt at the waist so that the top half of their body is closer to me and shoot with my camera slightly higher than my subject’s eyes. This allows for her head and eyes to be the main focus, while making her waist appear smaller. For men on the other hand, I prefer to shoot them standing front on, to capture broader shoulders a more manly pose.

Having female subjects stand at a 45 degree angle to you is typically flattering for the waist and chest and having them hinge slightly forward at the waist ensures that the face and eyes are the main focus.
MORE ARTICLES ON PHOTOGRAPHY


