How to Photograph Under Cloudy Skies
At the beginning of the summer here in Idaho we had a few days that were very cloudy. Often as photographers, we can get caught up in wanting the famed golden hour light, and so clouds in the forecast can be a bit of a downer. However, cloudy skies do not have to ruin a photoshoot, and in fact may actually help make it something epic.
So what are the benefits of photographing on cloudy days? And how do you best photograph your subject on cloudy days? First, the benefits.
the Benefits of Photographing on Cloudy Days
#1 Cloudy Skies Add Drama
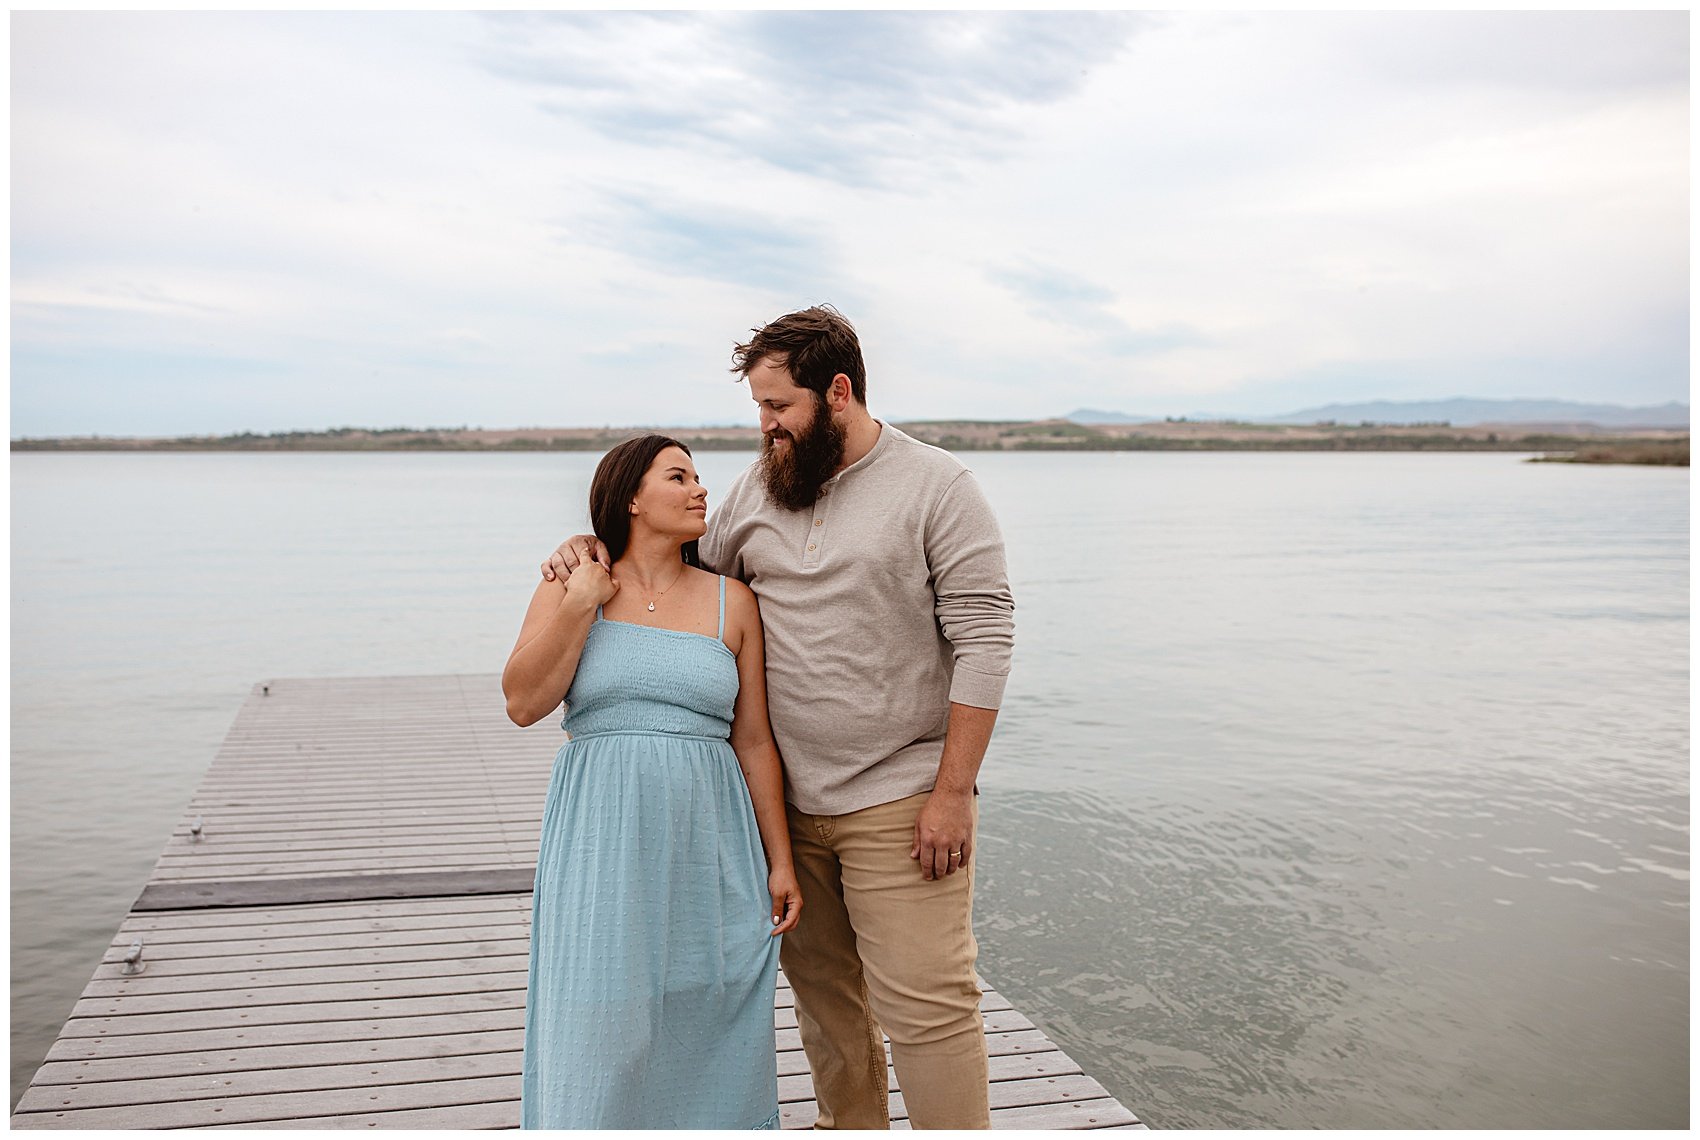
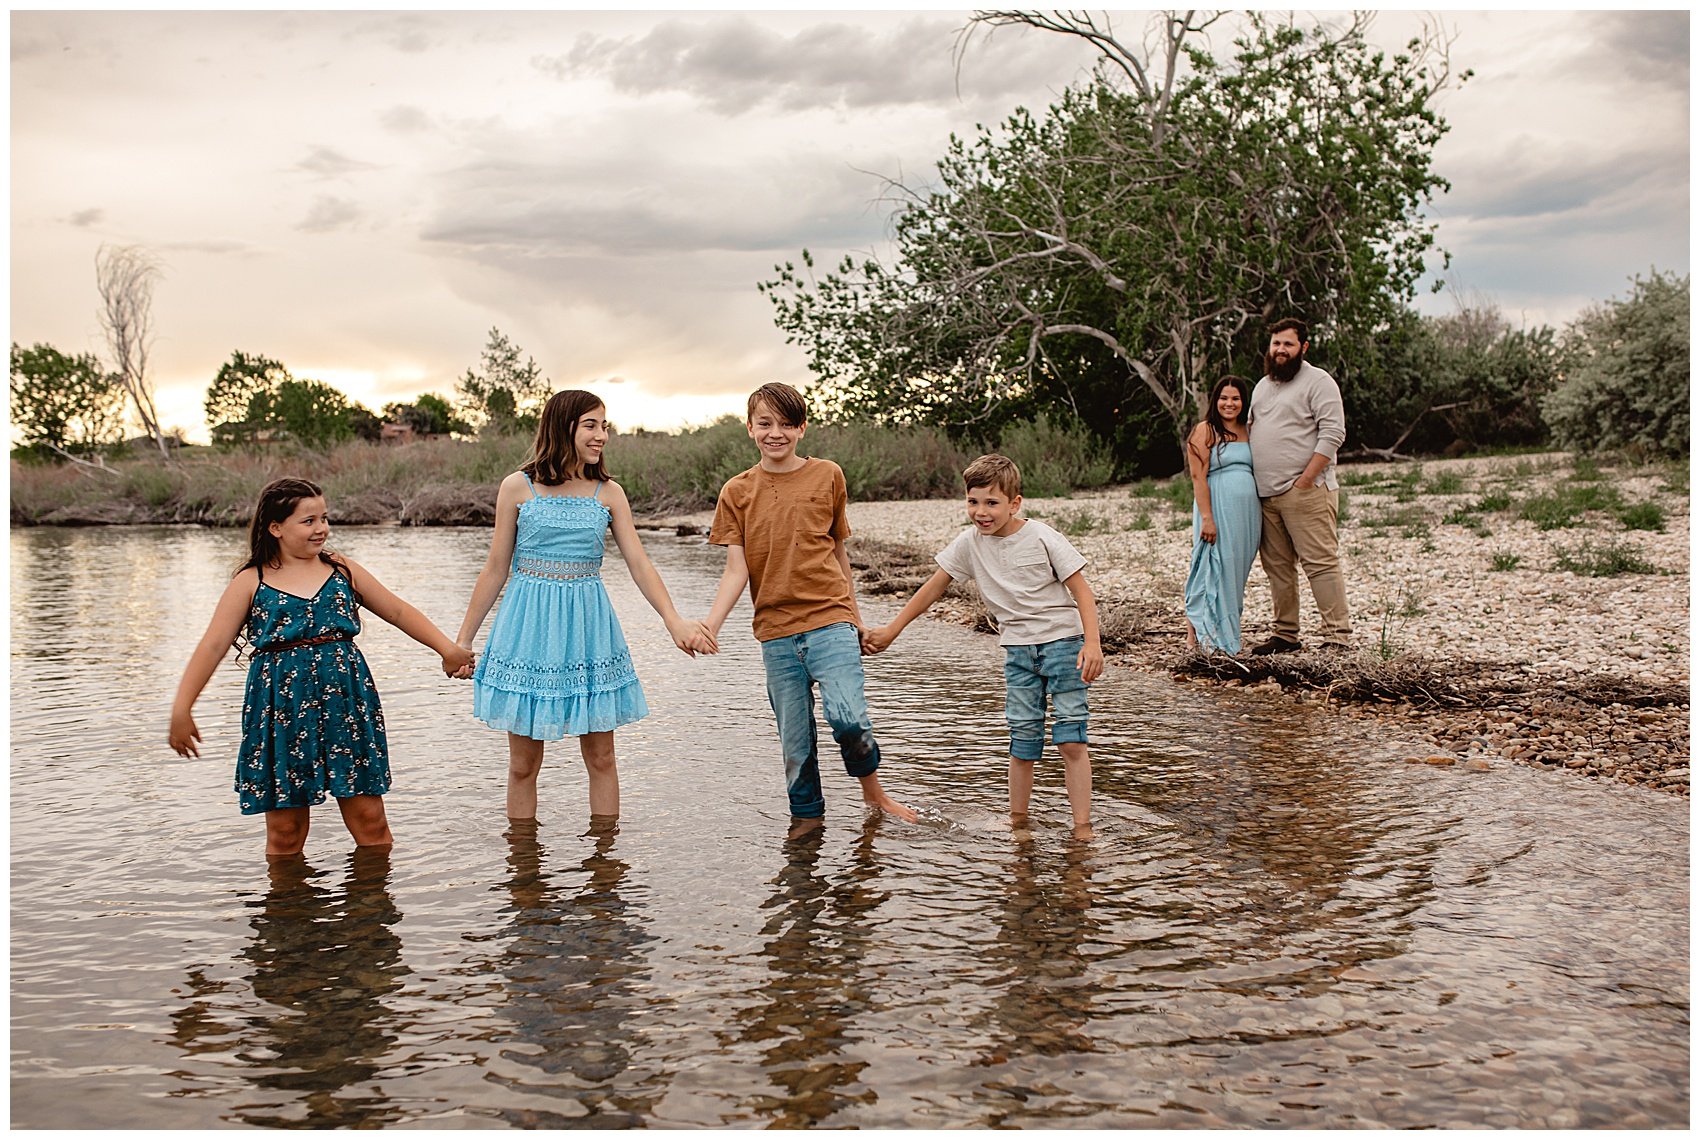
There are so many different types and textures of clouds that they can add so much texture, contrast and color to the background of a photo. Not to mention, clouds make for some pretty incredible sunsets, and I would argue they drastically increase the “drama” factor of a sunset by giving something for the sunlight to bounce off.
#2 They Help Diffuse Sunlight
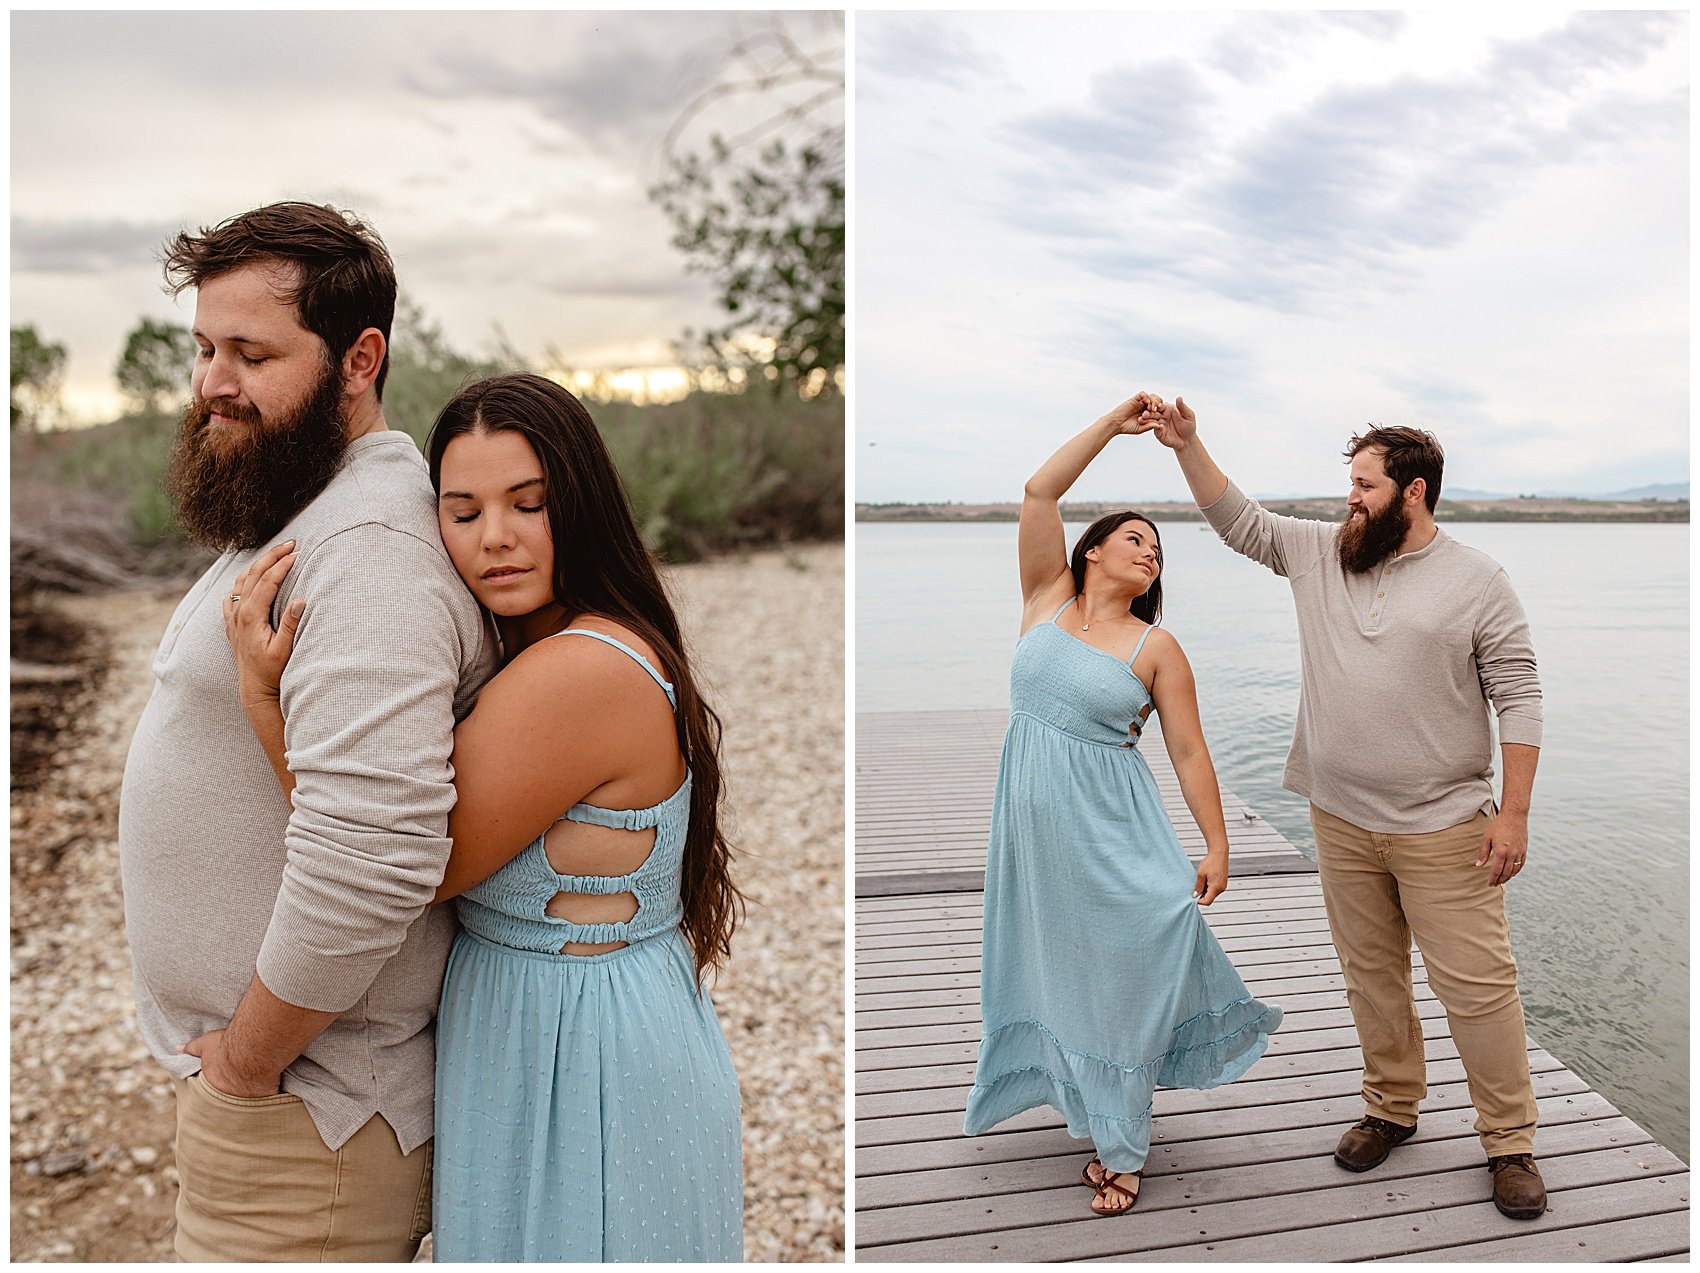
Clouds reduce the highlights typically caused by the sun so that your sky isn’t completely blown out in a sunset image. Clouds reduce the contrast of an image by eliminating harsh light and deep shadows. In diffusing the sunlight, clouds do wonders for skin tones by casting even light over your subjects.
#3 Clouds Allow you to Shoot in Different Directions
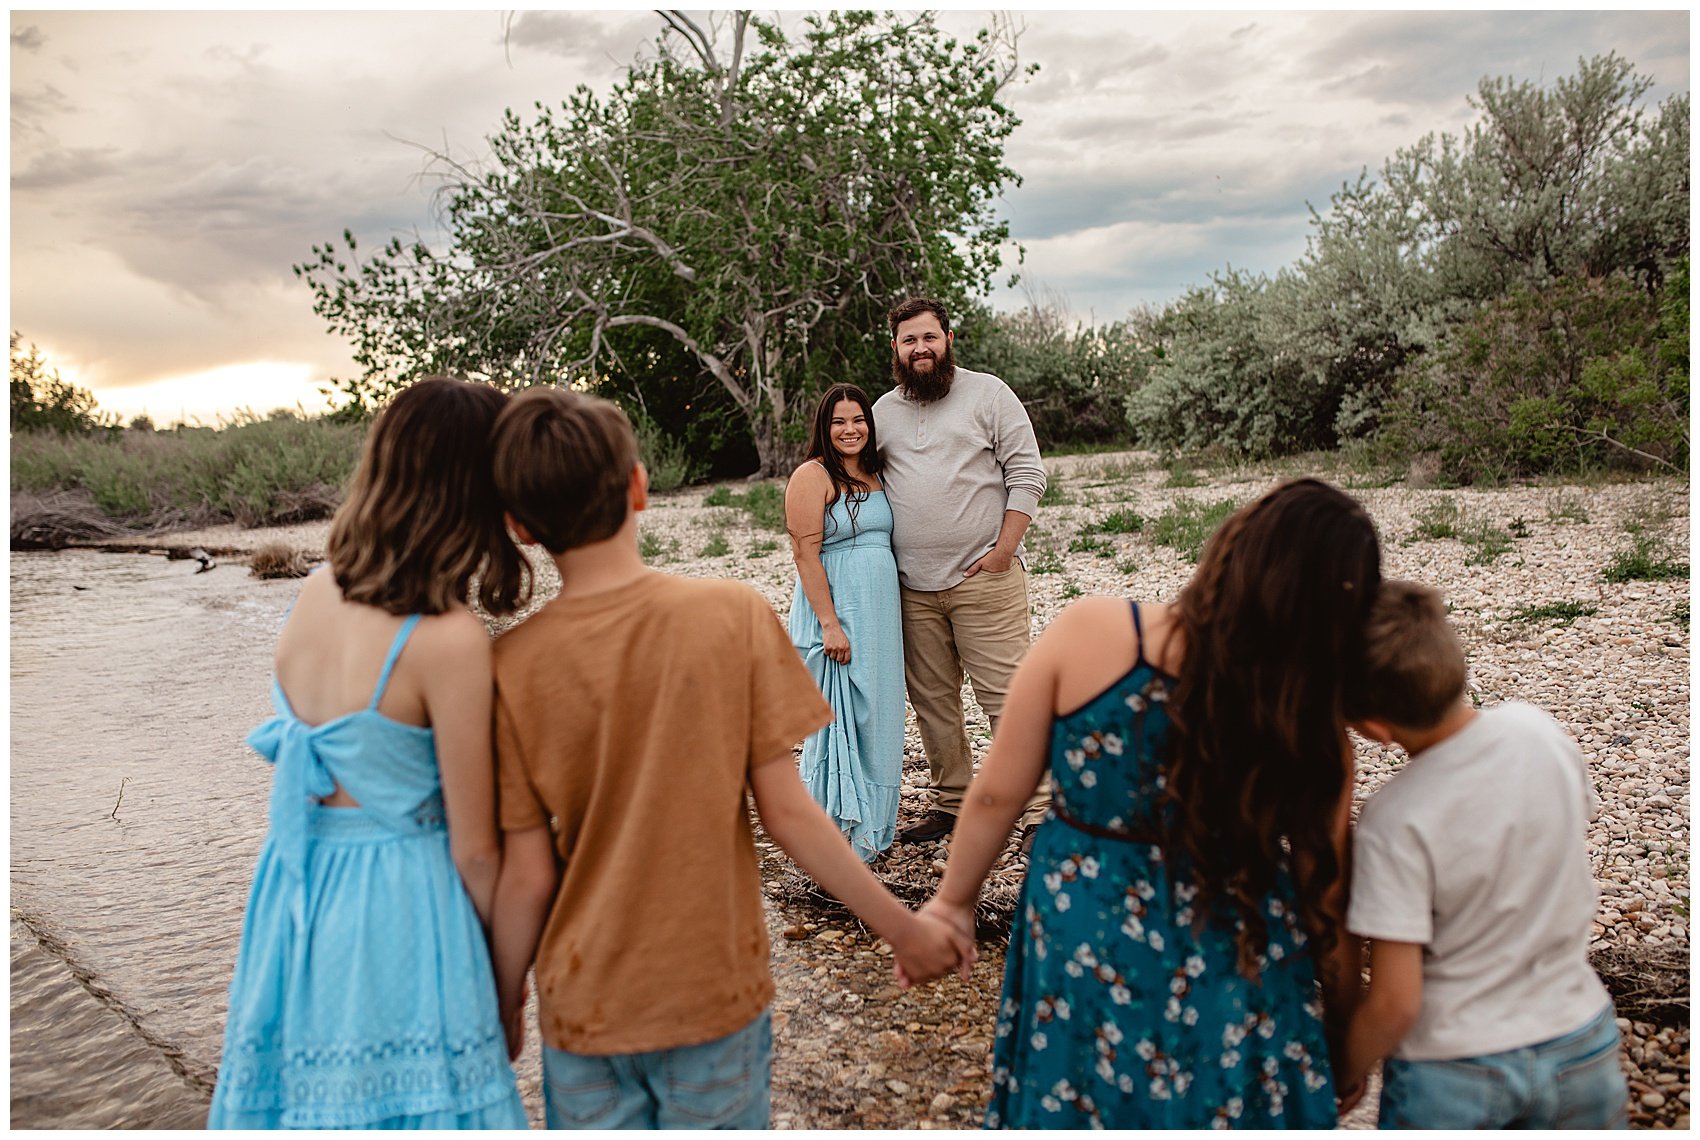
In diffusing the sunlight and eliminating harsh light, on a cloudy day you will find that you are able to photograph your subjects in all directions. East, west, north and south are all possibilities because you aren’t dealing with directional light from the sun. However, there are still some things to consider in regard the best direction to shoot in on a cloudy day. Which brings me to the next section.
How to best photograph on Cloudy Days
#1 Move Your Session Start Time a Bit Earlier
Chances are if you have more than 50% cloud cover, you are going to lose light faster as the sun sets than on a clear sunny day. You will also have less of a “golden hour” and more of a “blue hour” and so I would recommend moving your session up by 30 minutes and sometimes even an hour earlier than you would typically schedule a session for. This could end up be 2-2.5 hours before sunset.
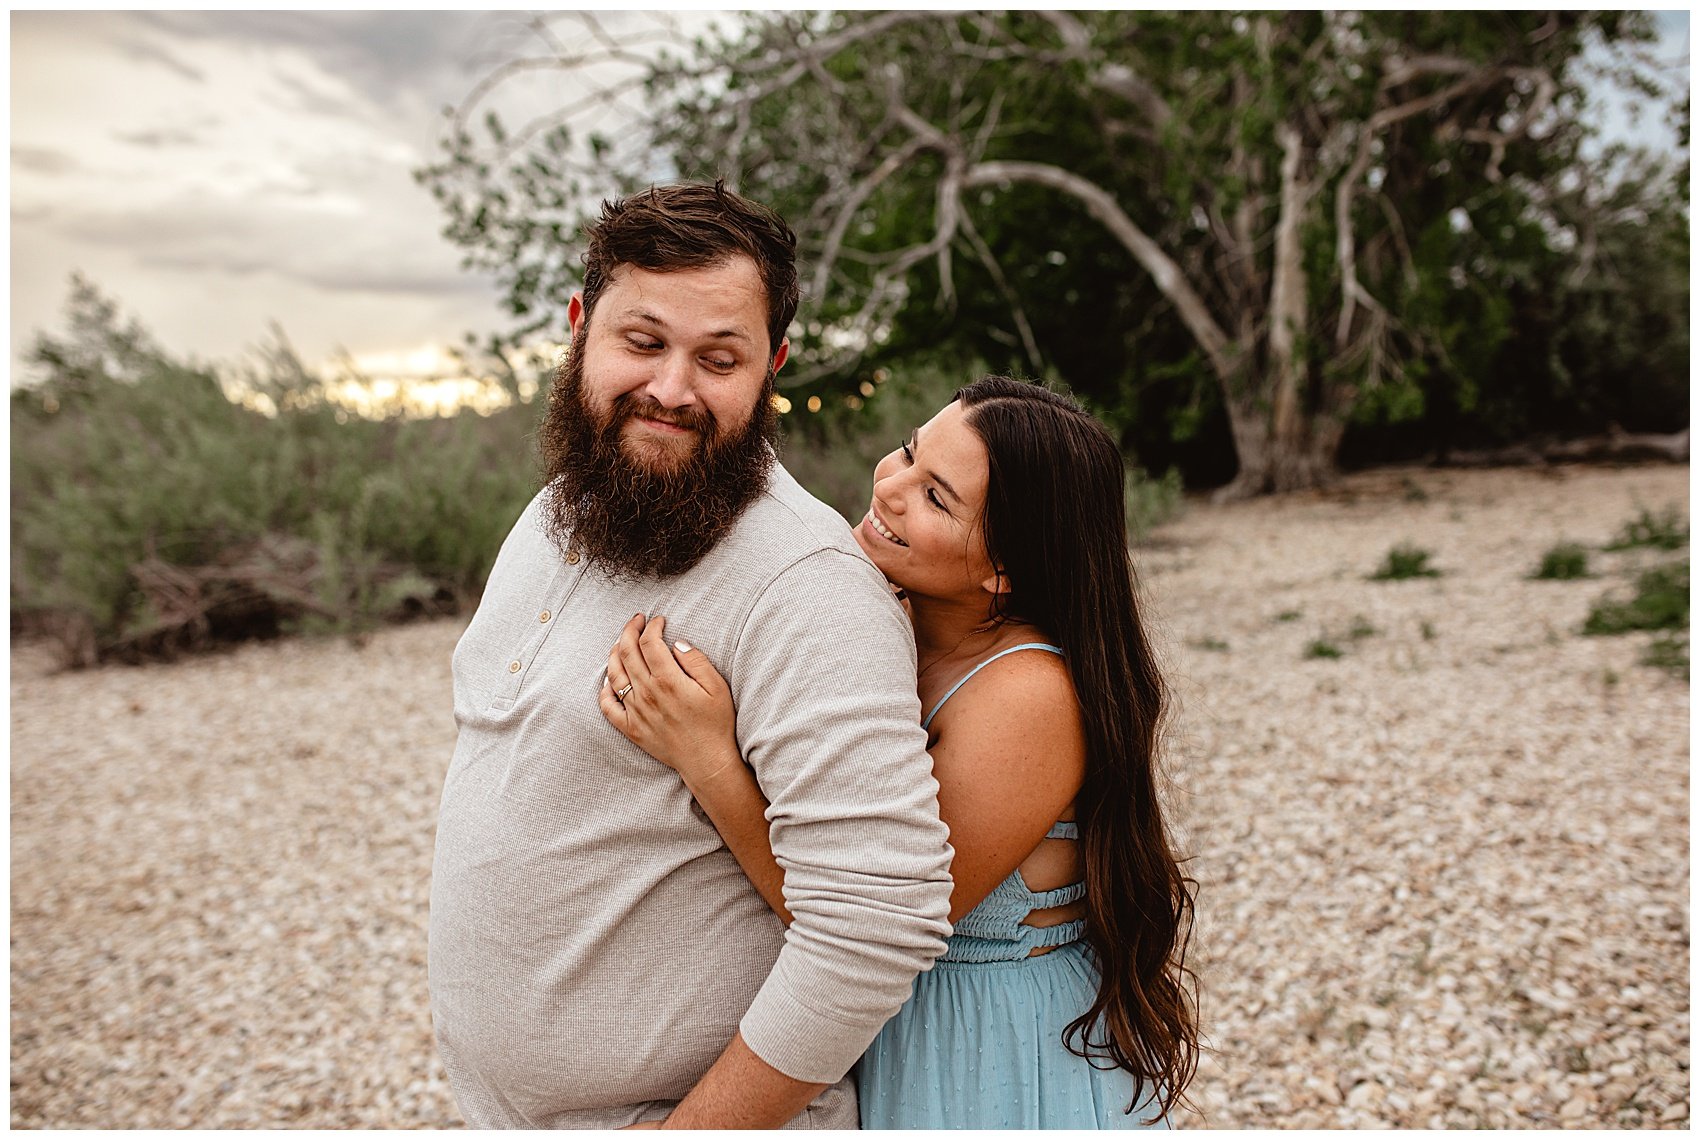
#2 Turn Your Subjects Toward the Light
Since the sunlight is diffused by the clouds you may end up with not enough light on your subject’s faces when back lighting them, especially as it gets closer to sunset. I recommend turning your subjects to face the direction of the sun for more bright and even light on their faces as the sun starts to get closer to the horizon.
#3 Expose for the sky
Typically we want to expose for our subjects to ensure the best possible detail and color in their faces, but when you have a cloudy sunset, we don’t want to miss out on capturing the drama by overexposing the sky. Meter for the sky by putting your focal point on the sky, adjusting your aperture, shutter speed and ISO accordingly and then recomposing the photo around your subject. In some cases this may mean adjusting the exposure of your subject in post processing, but generally cloudy skies result in less shadows and loss of detail than bright, backlit skies would.
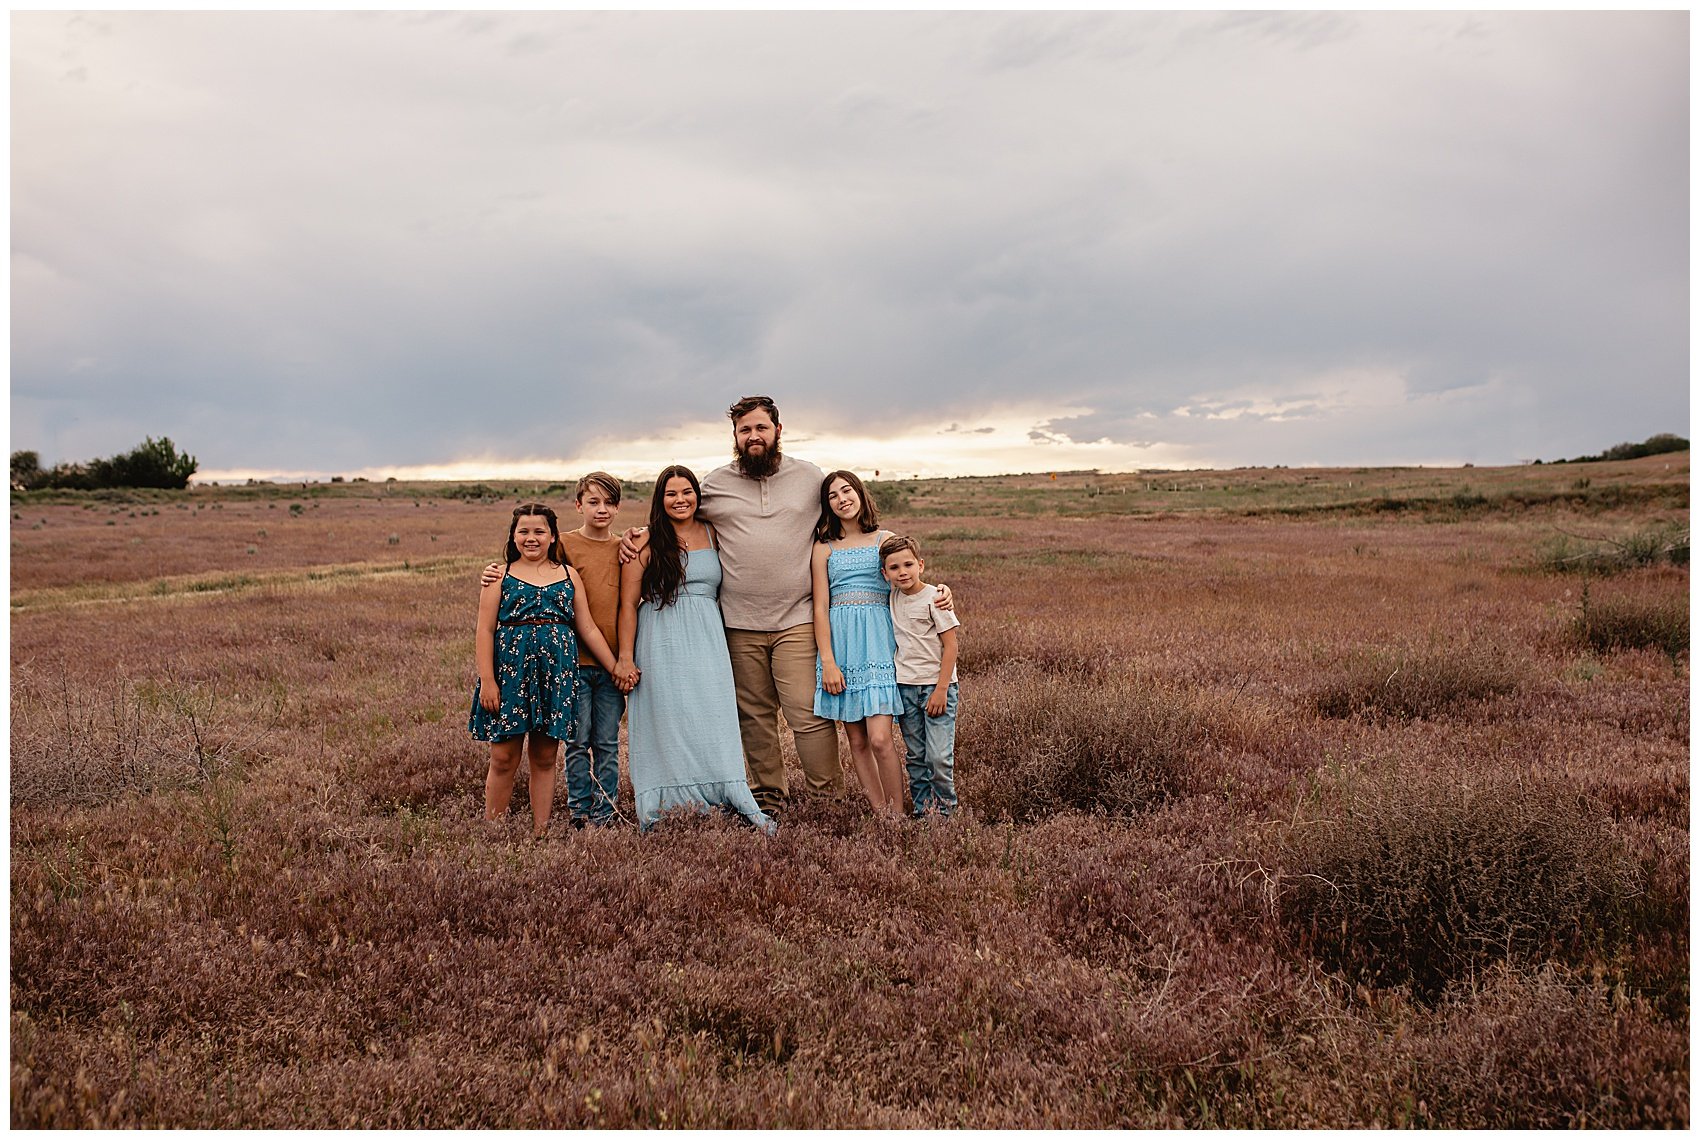
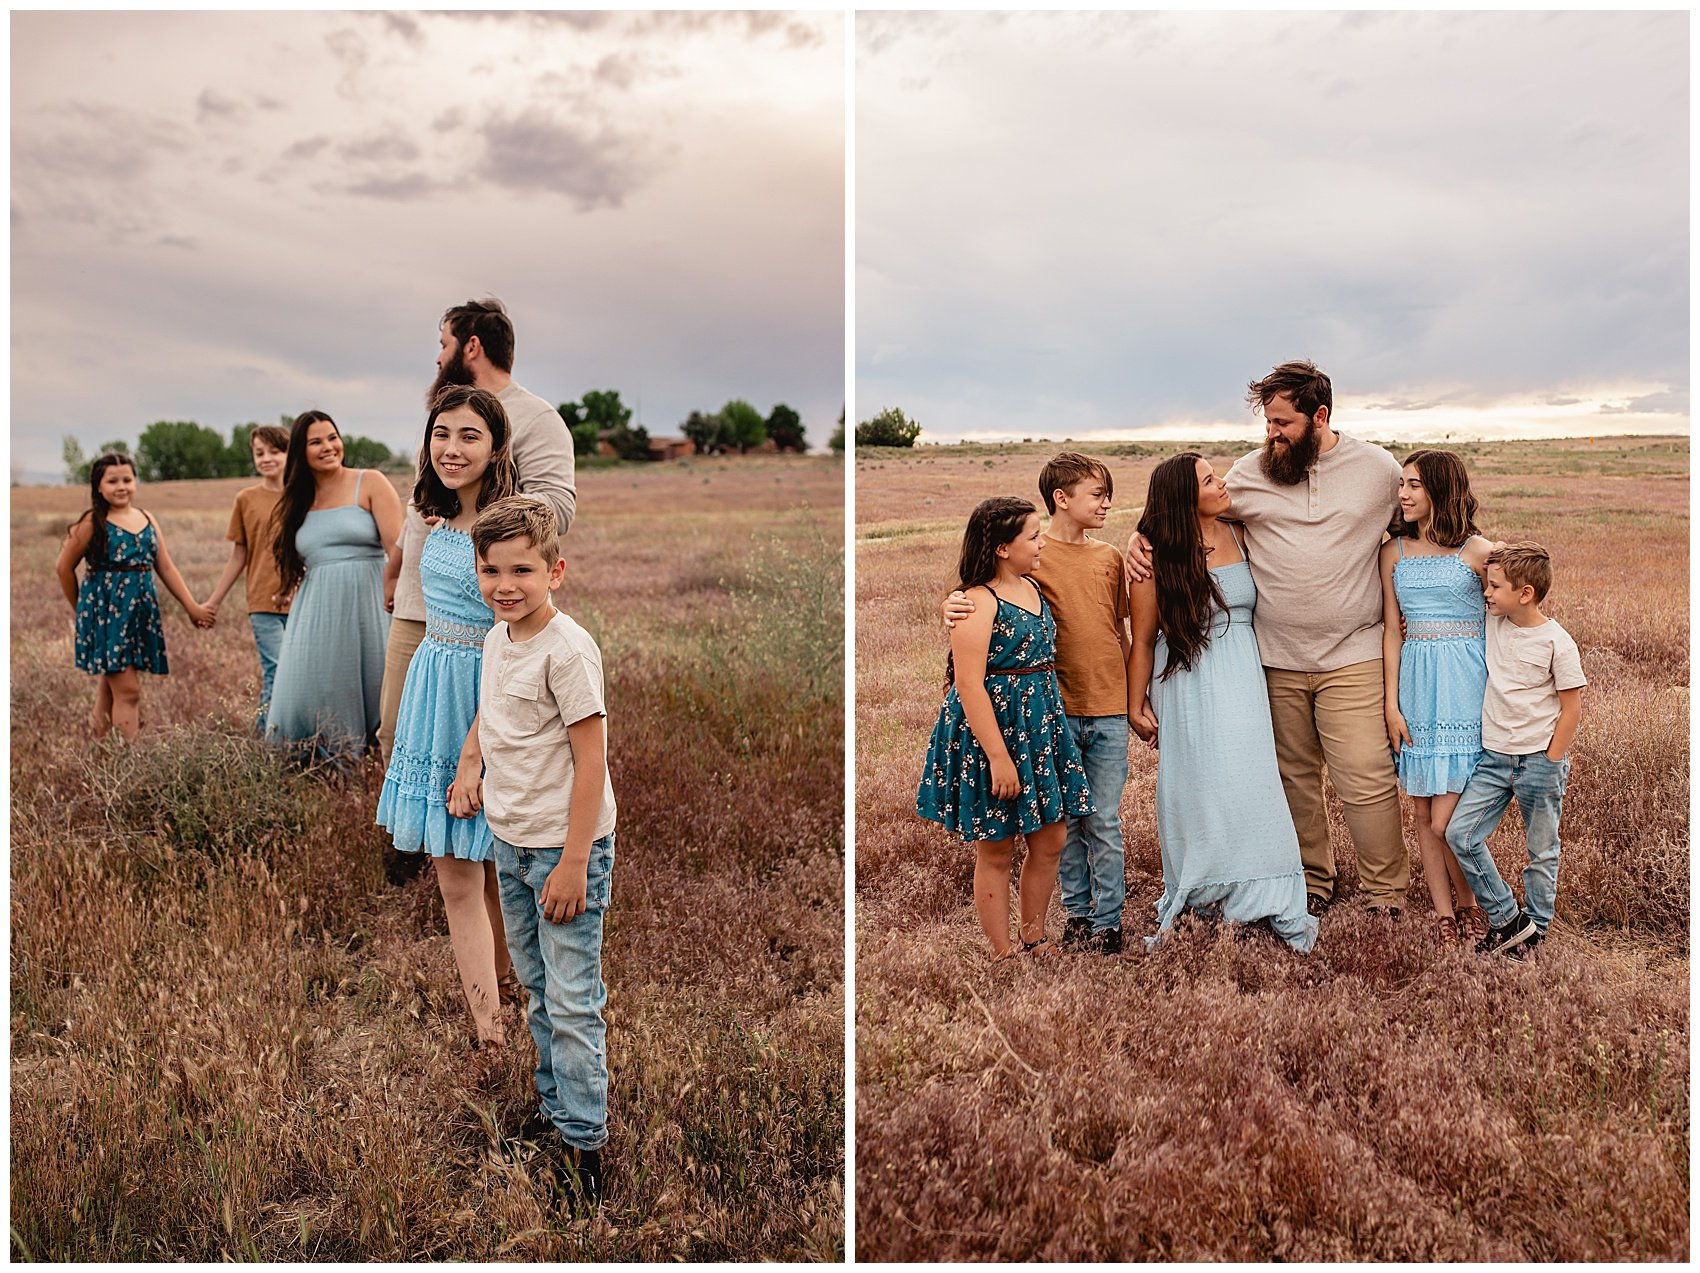
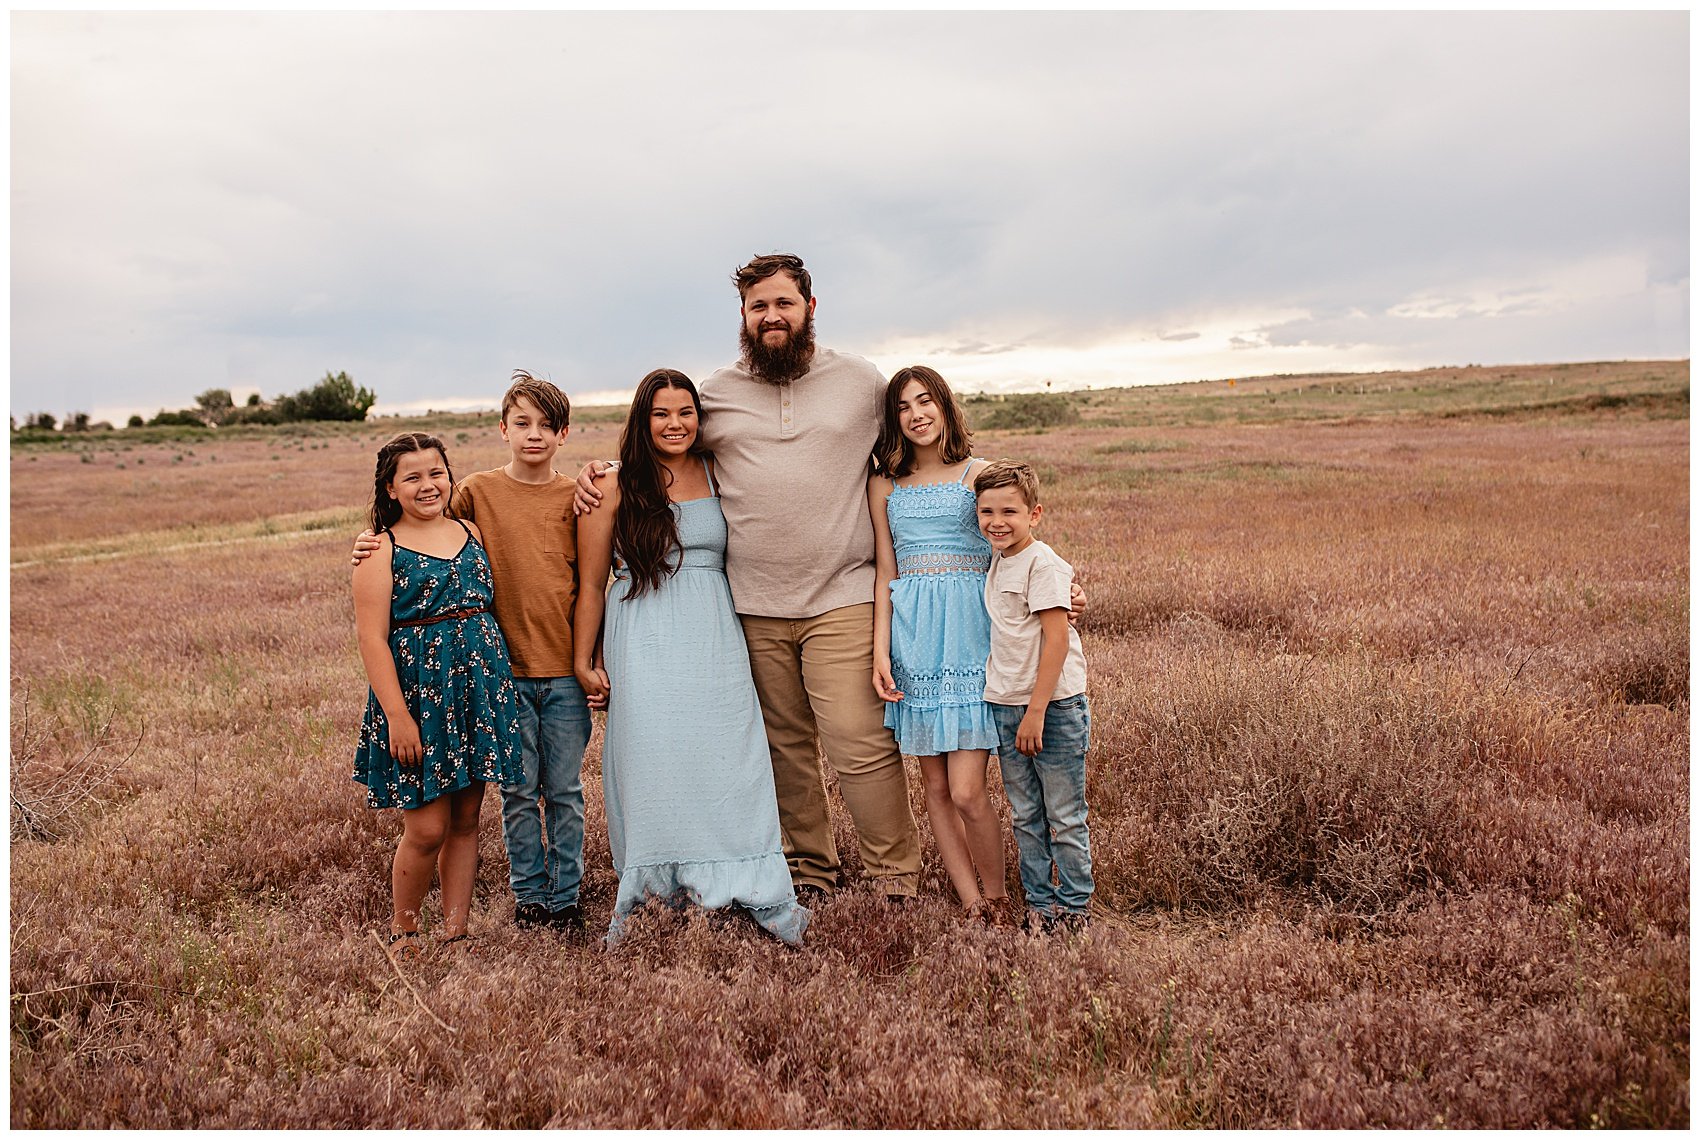
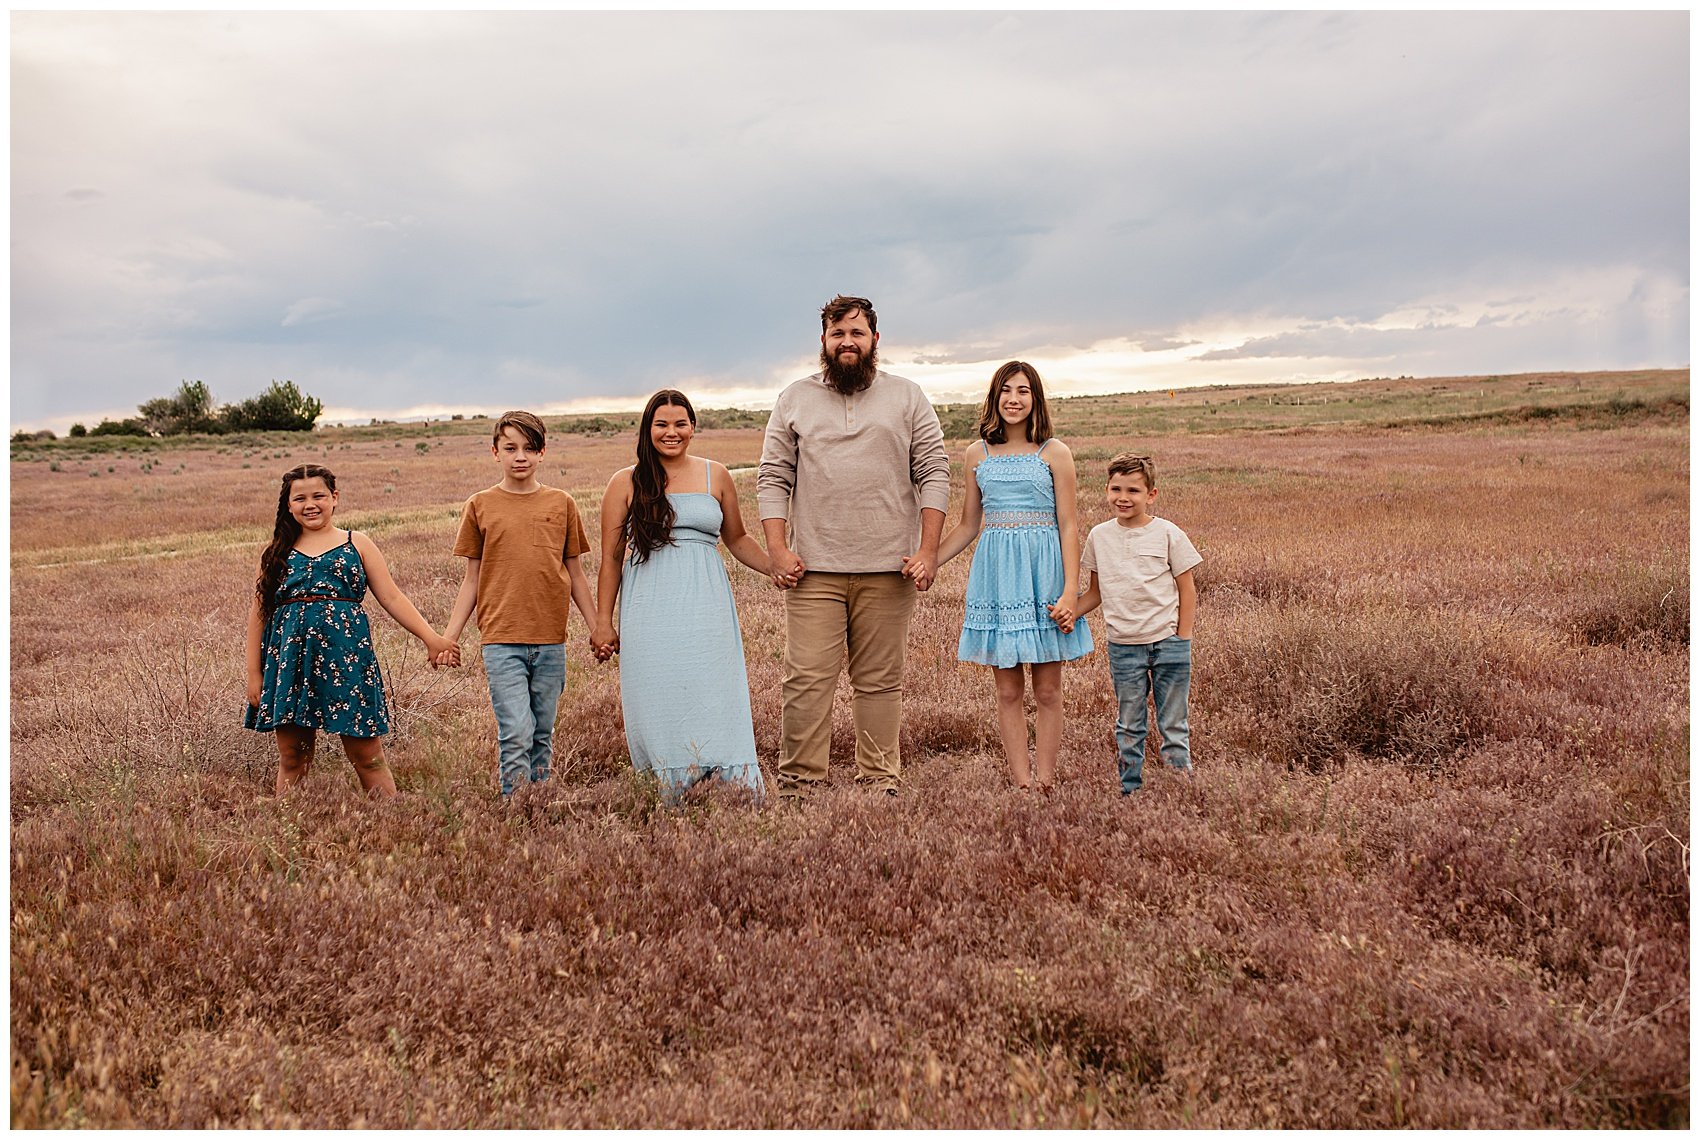
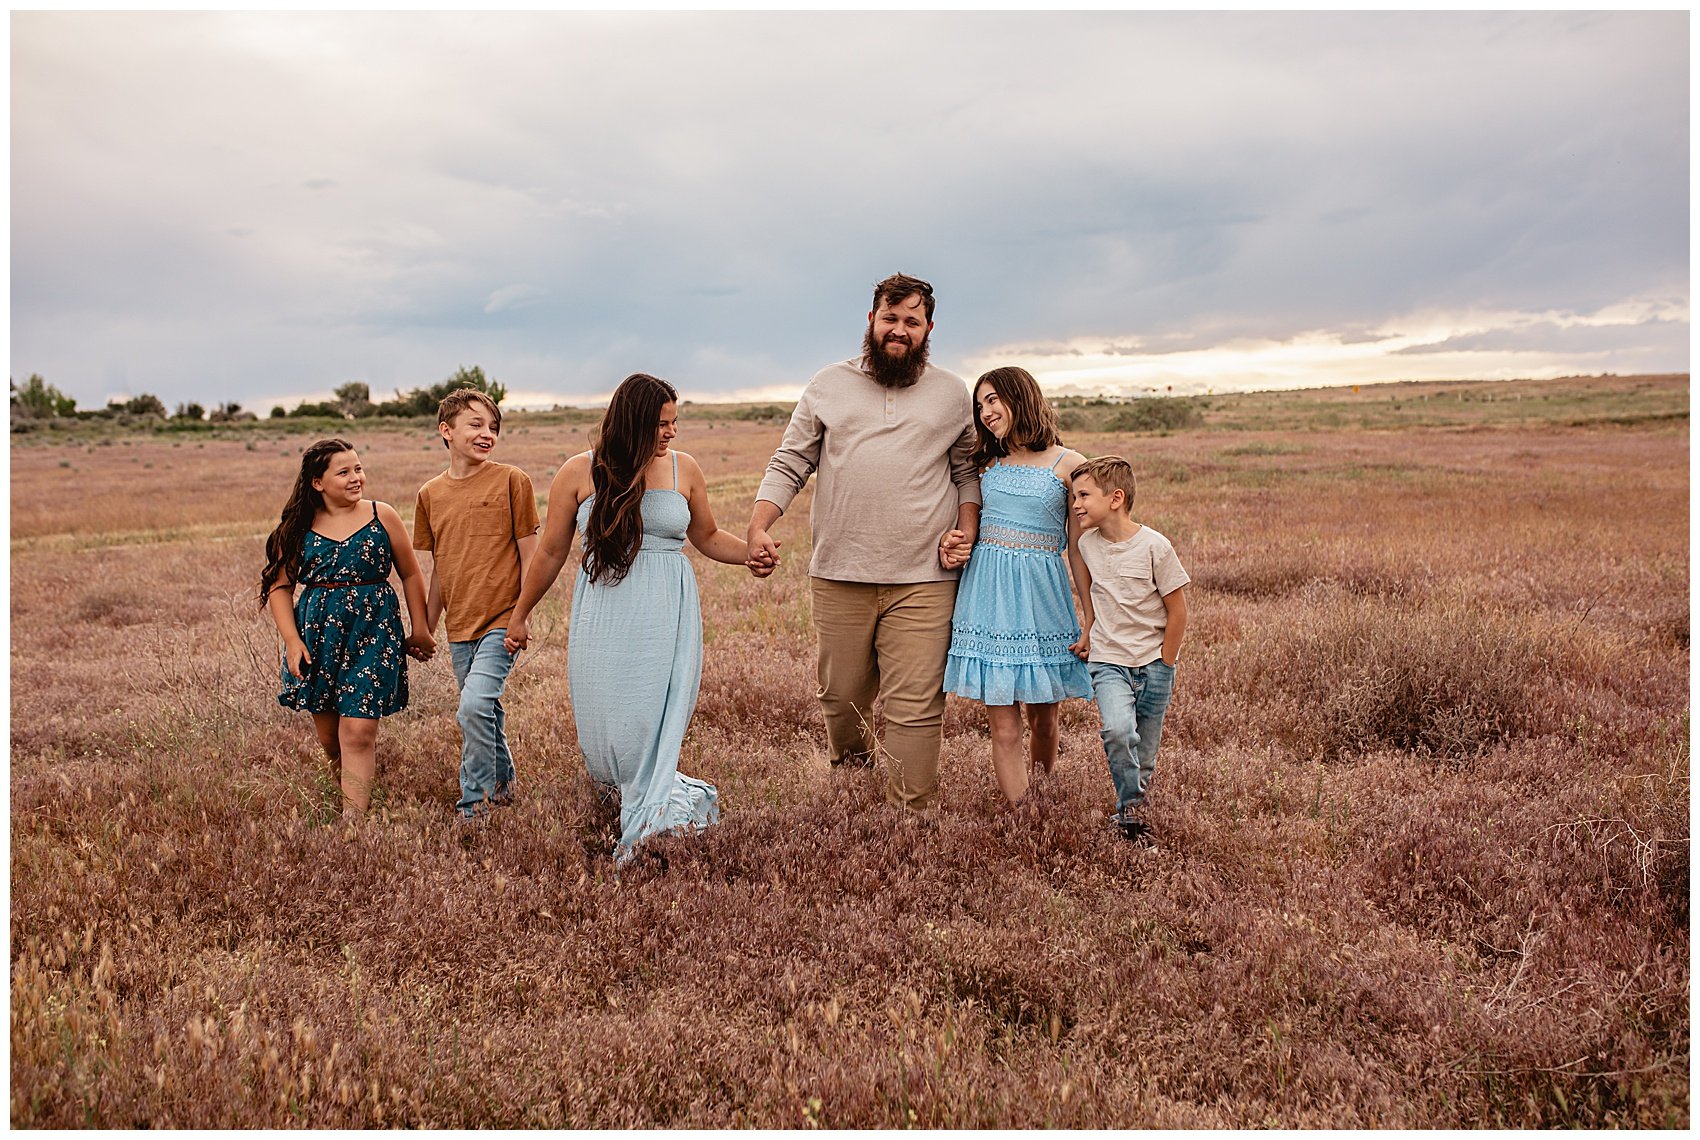
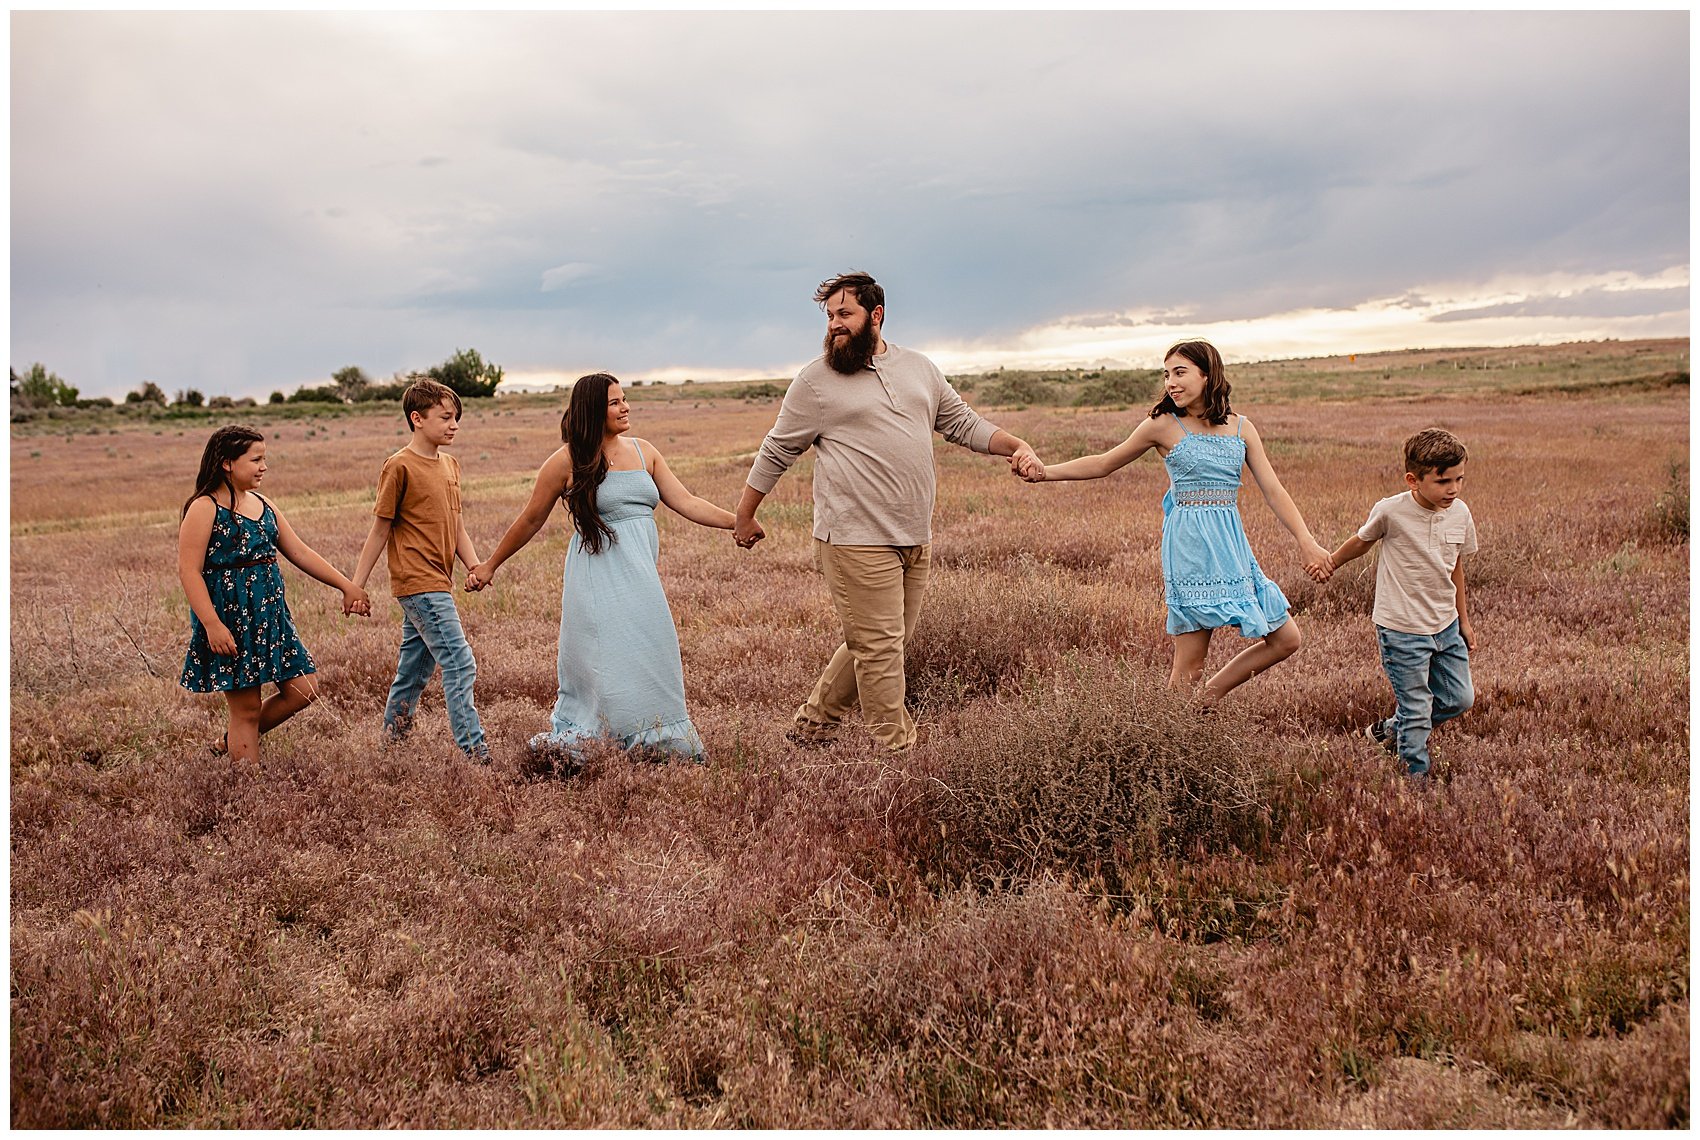
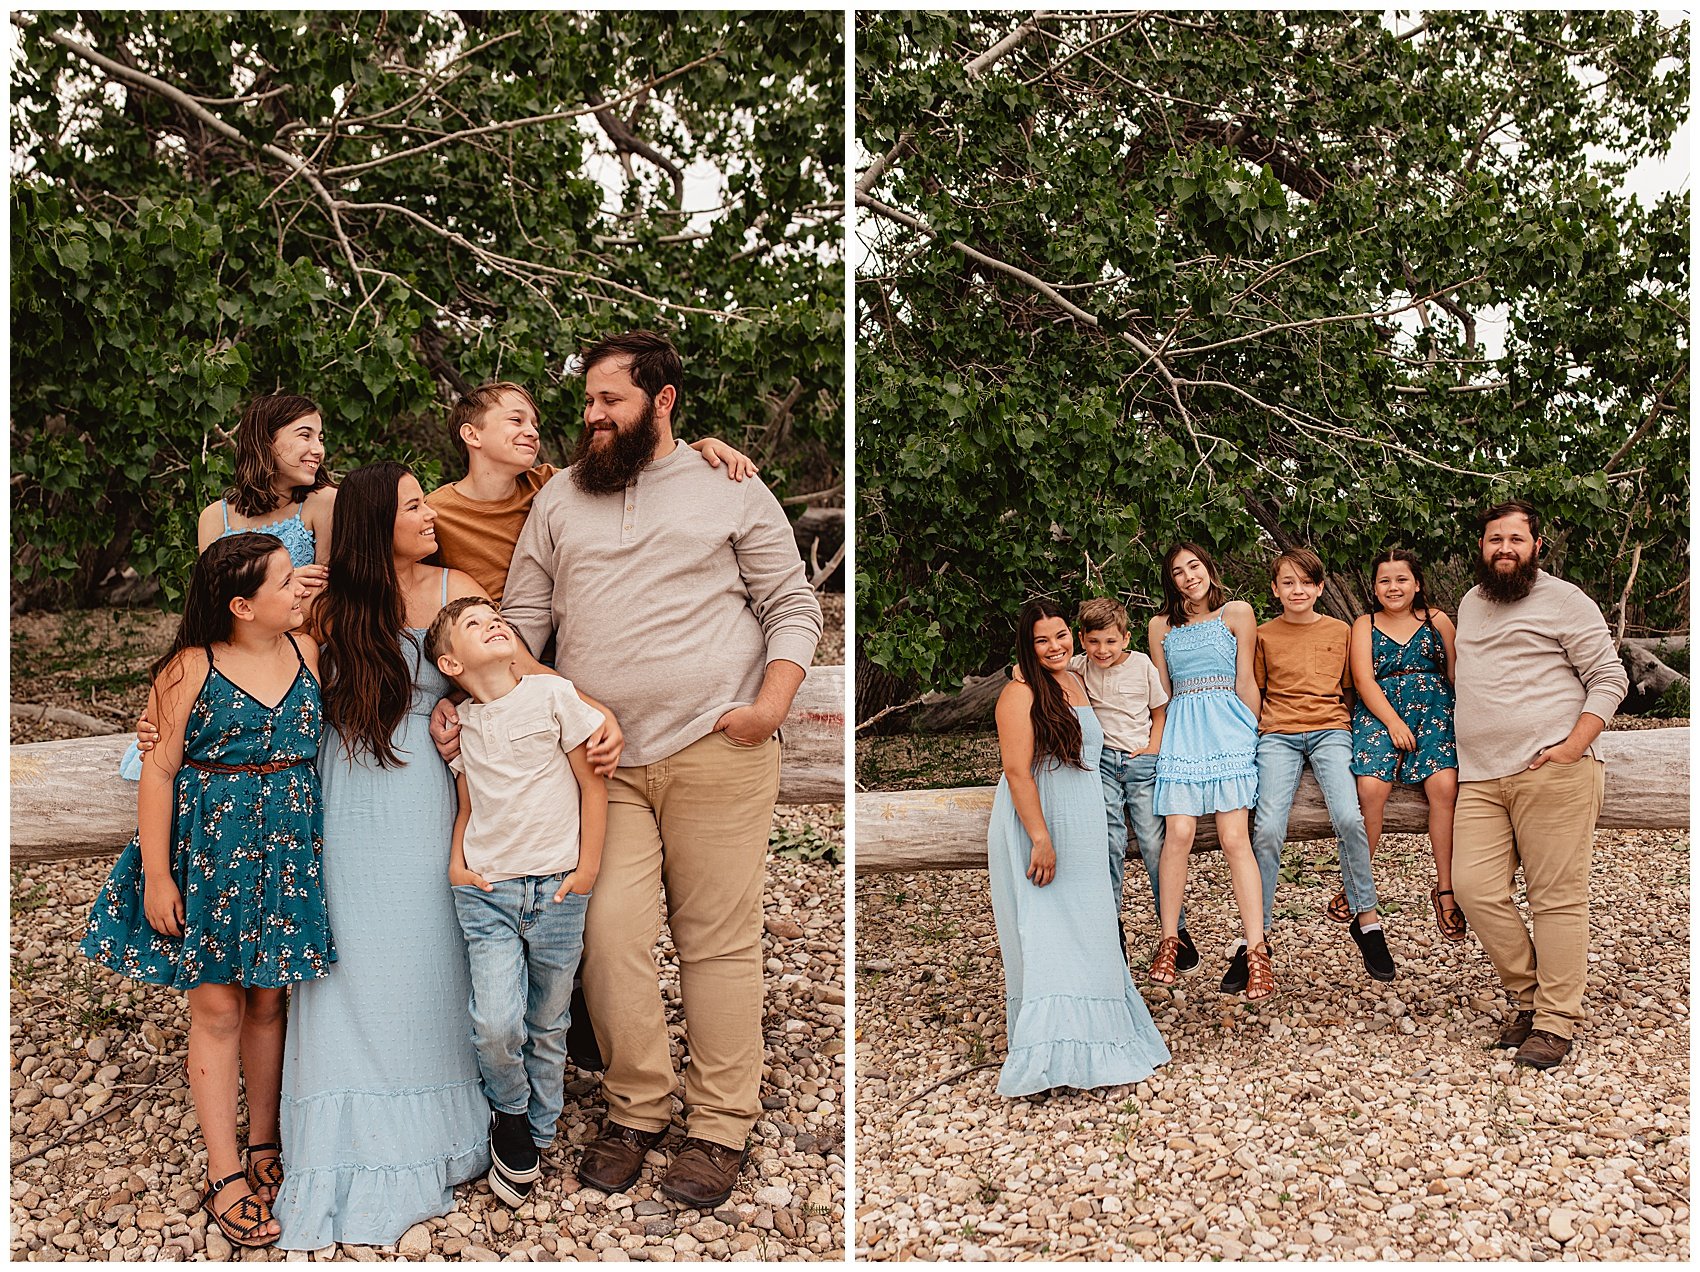
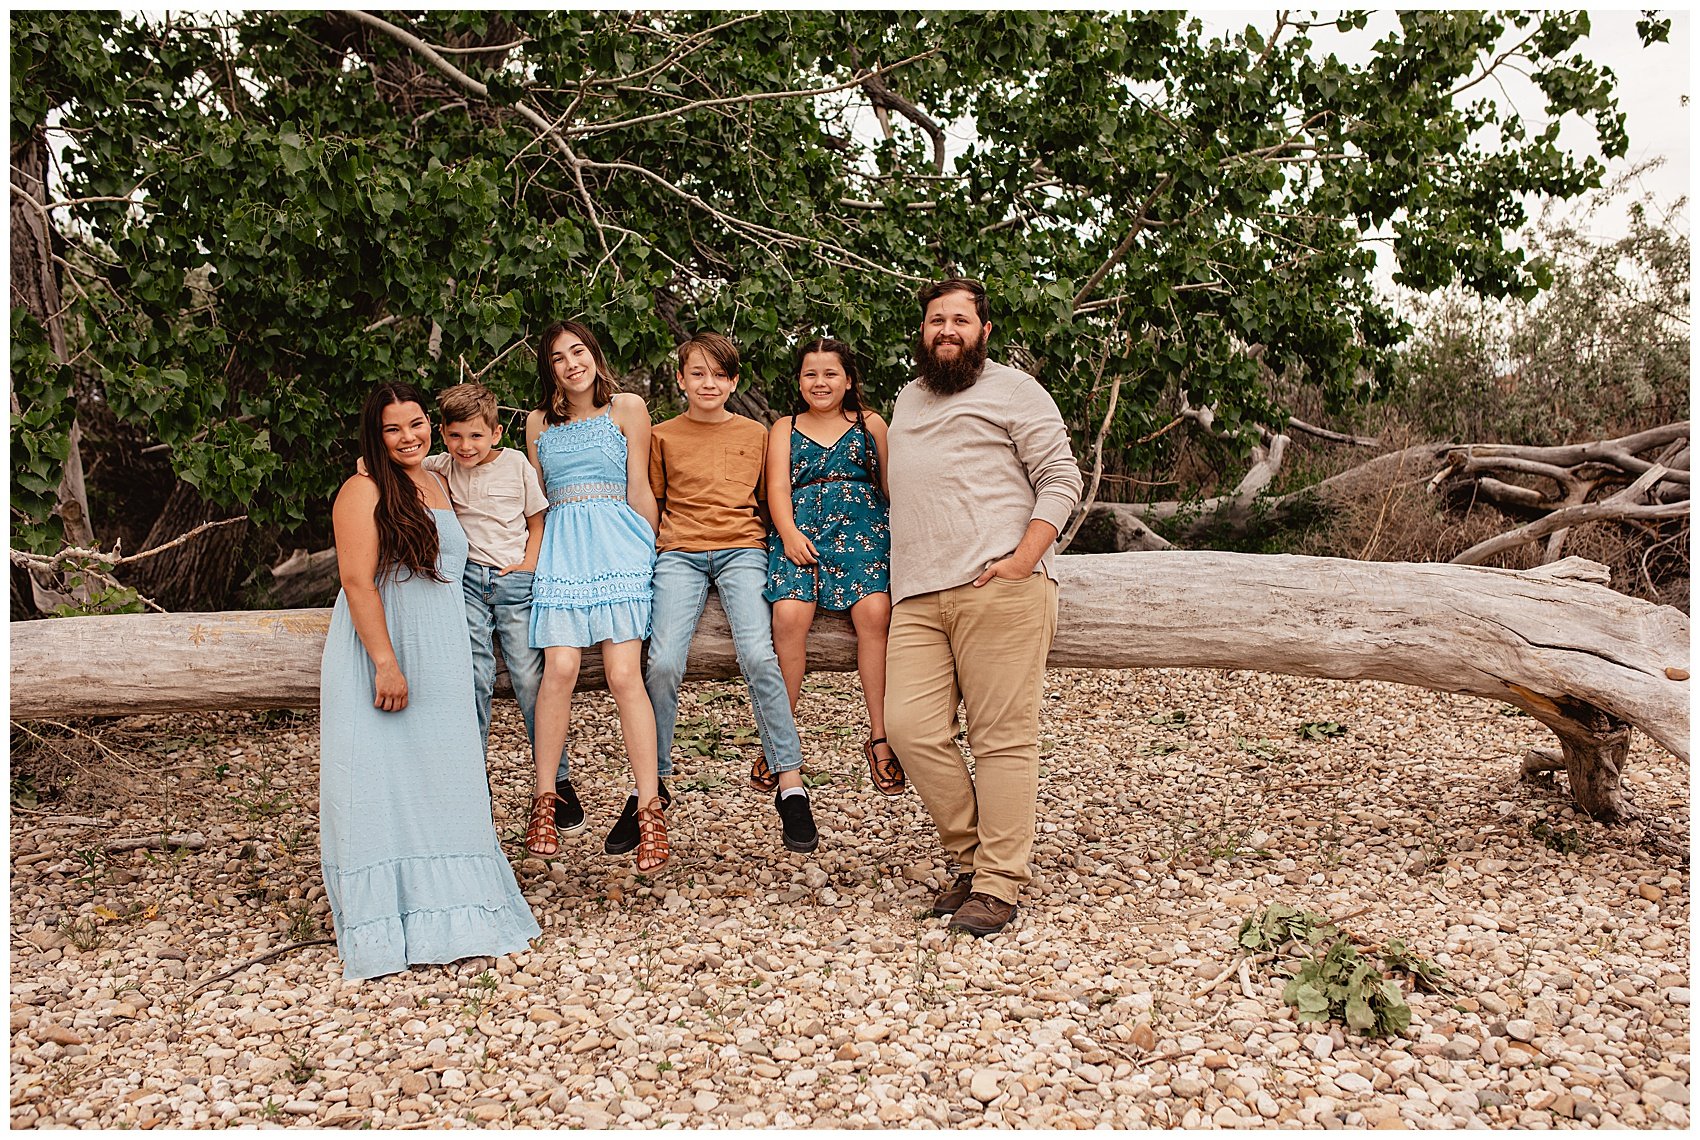
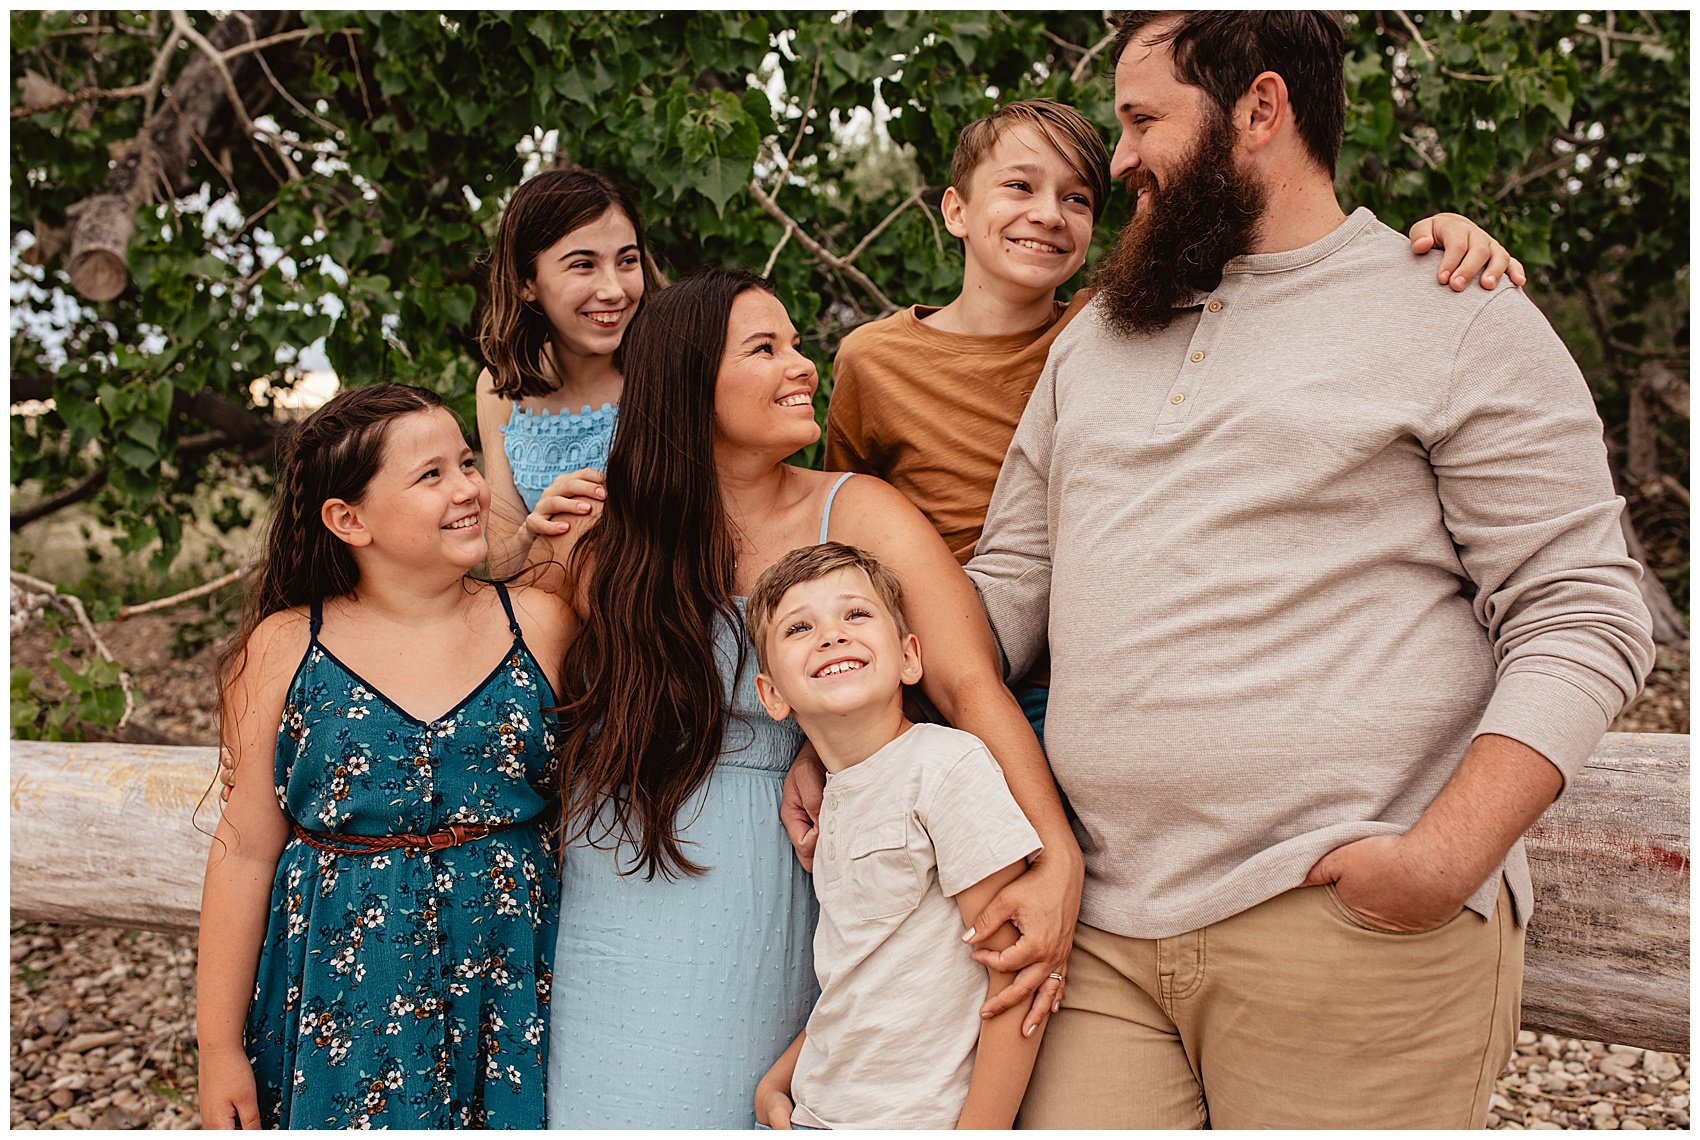
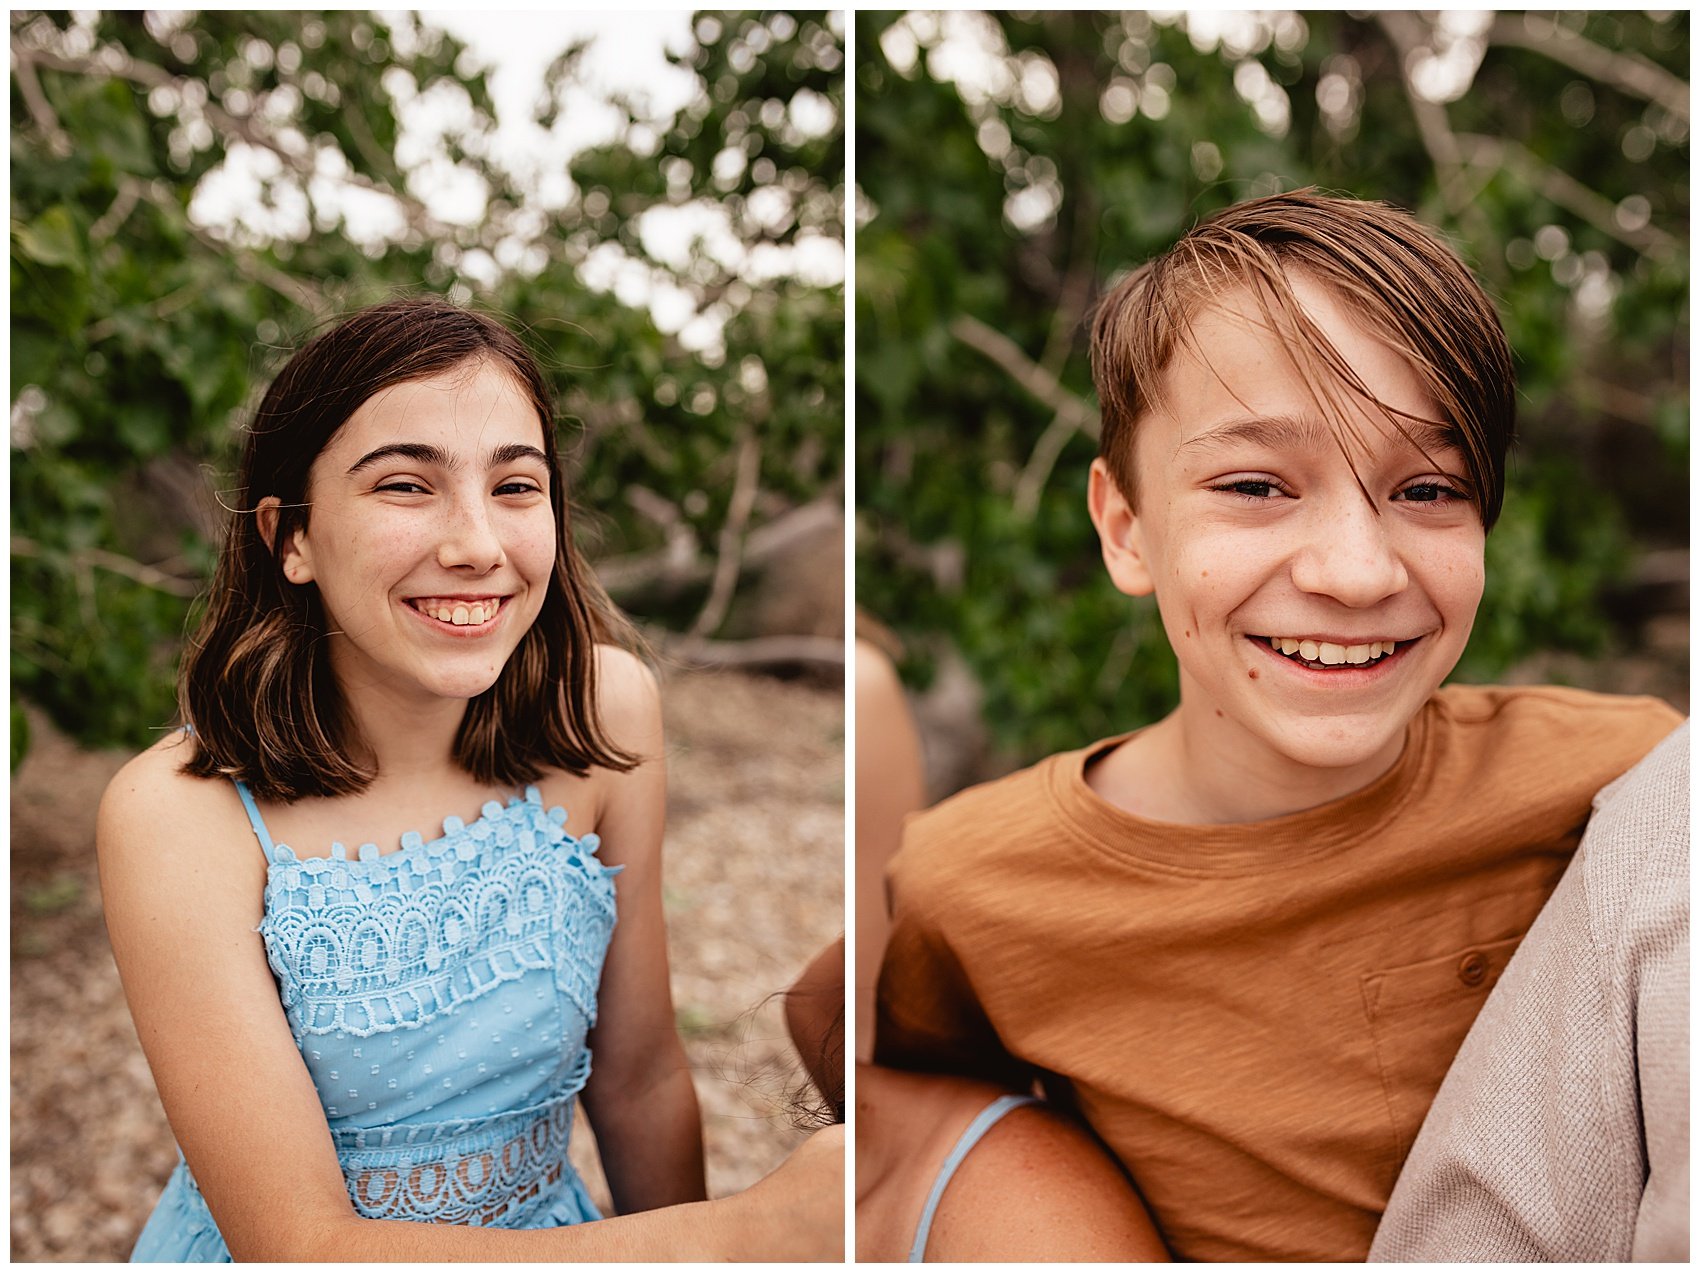
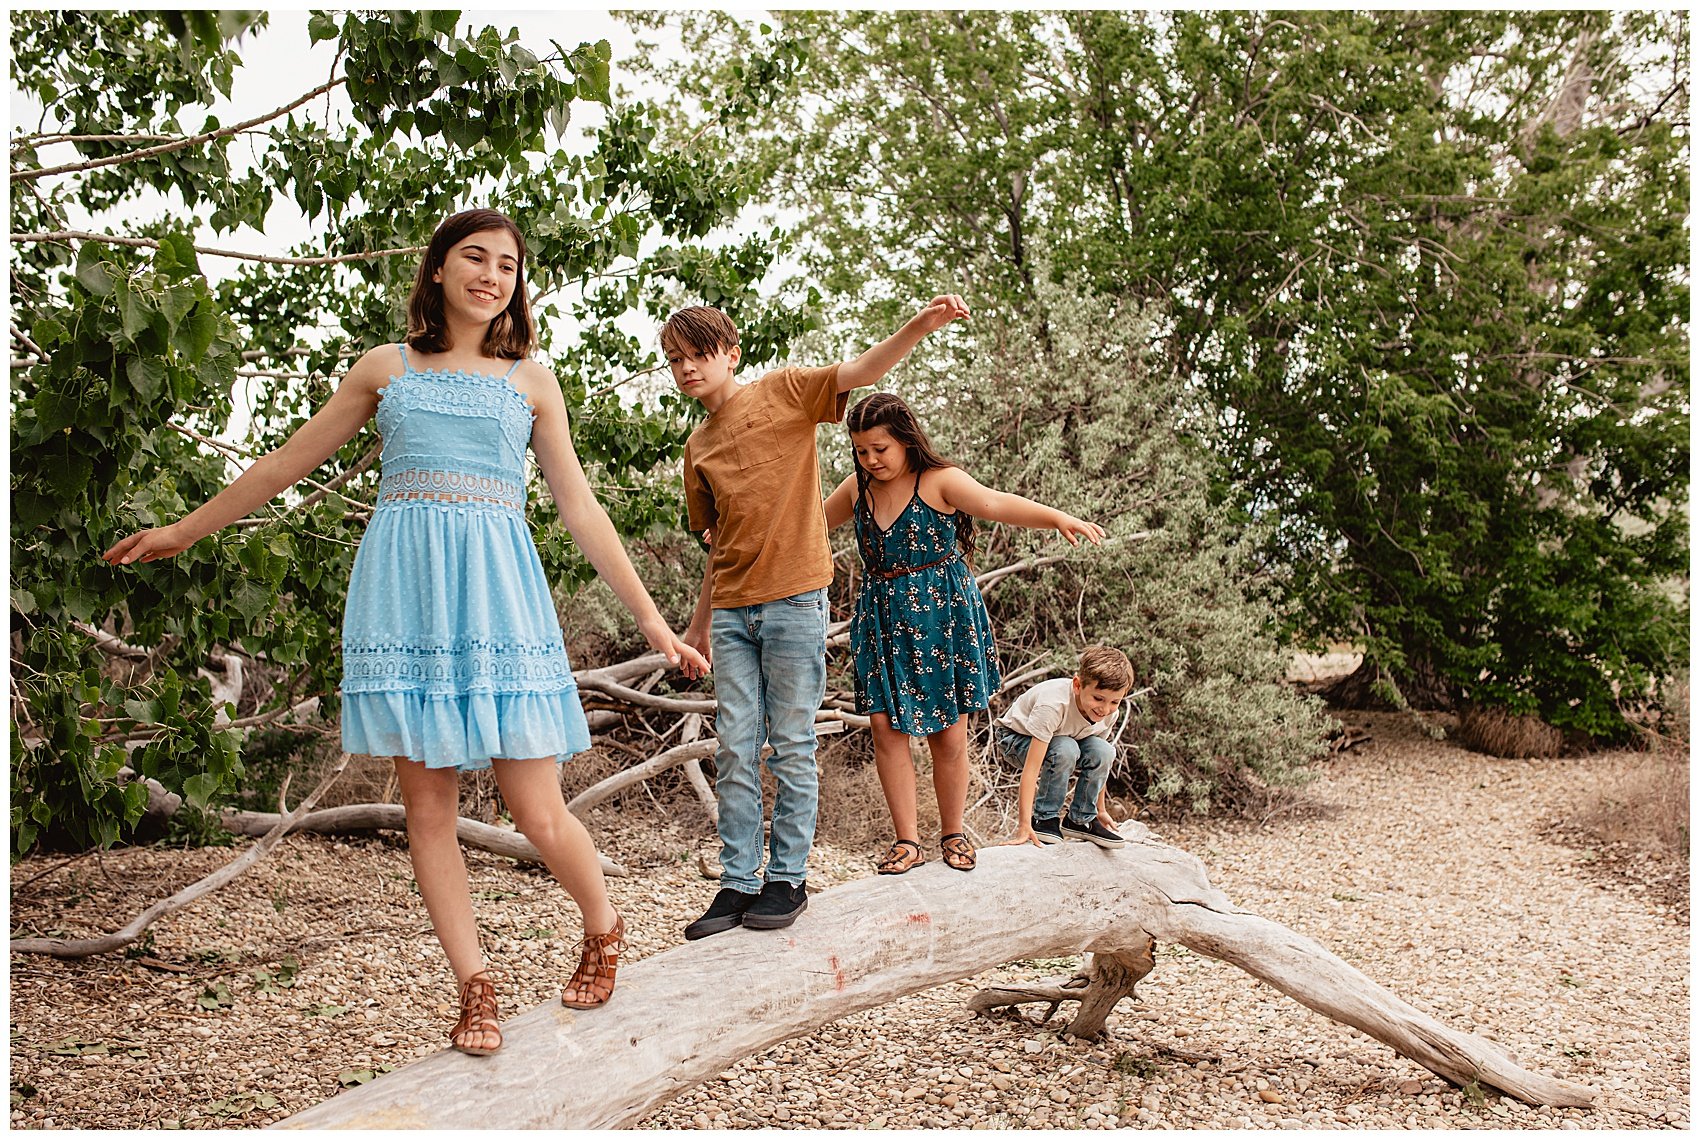
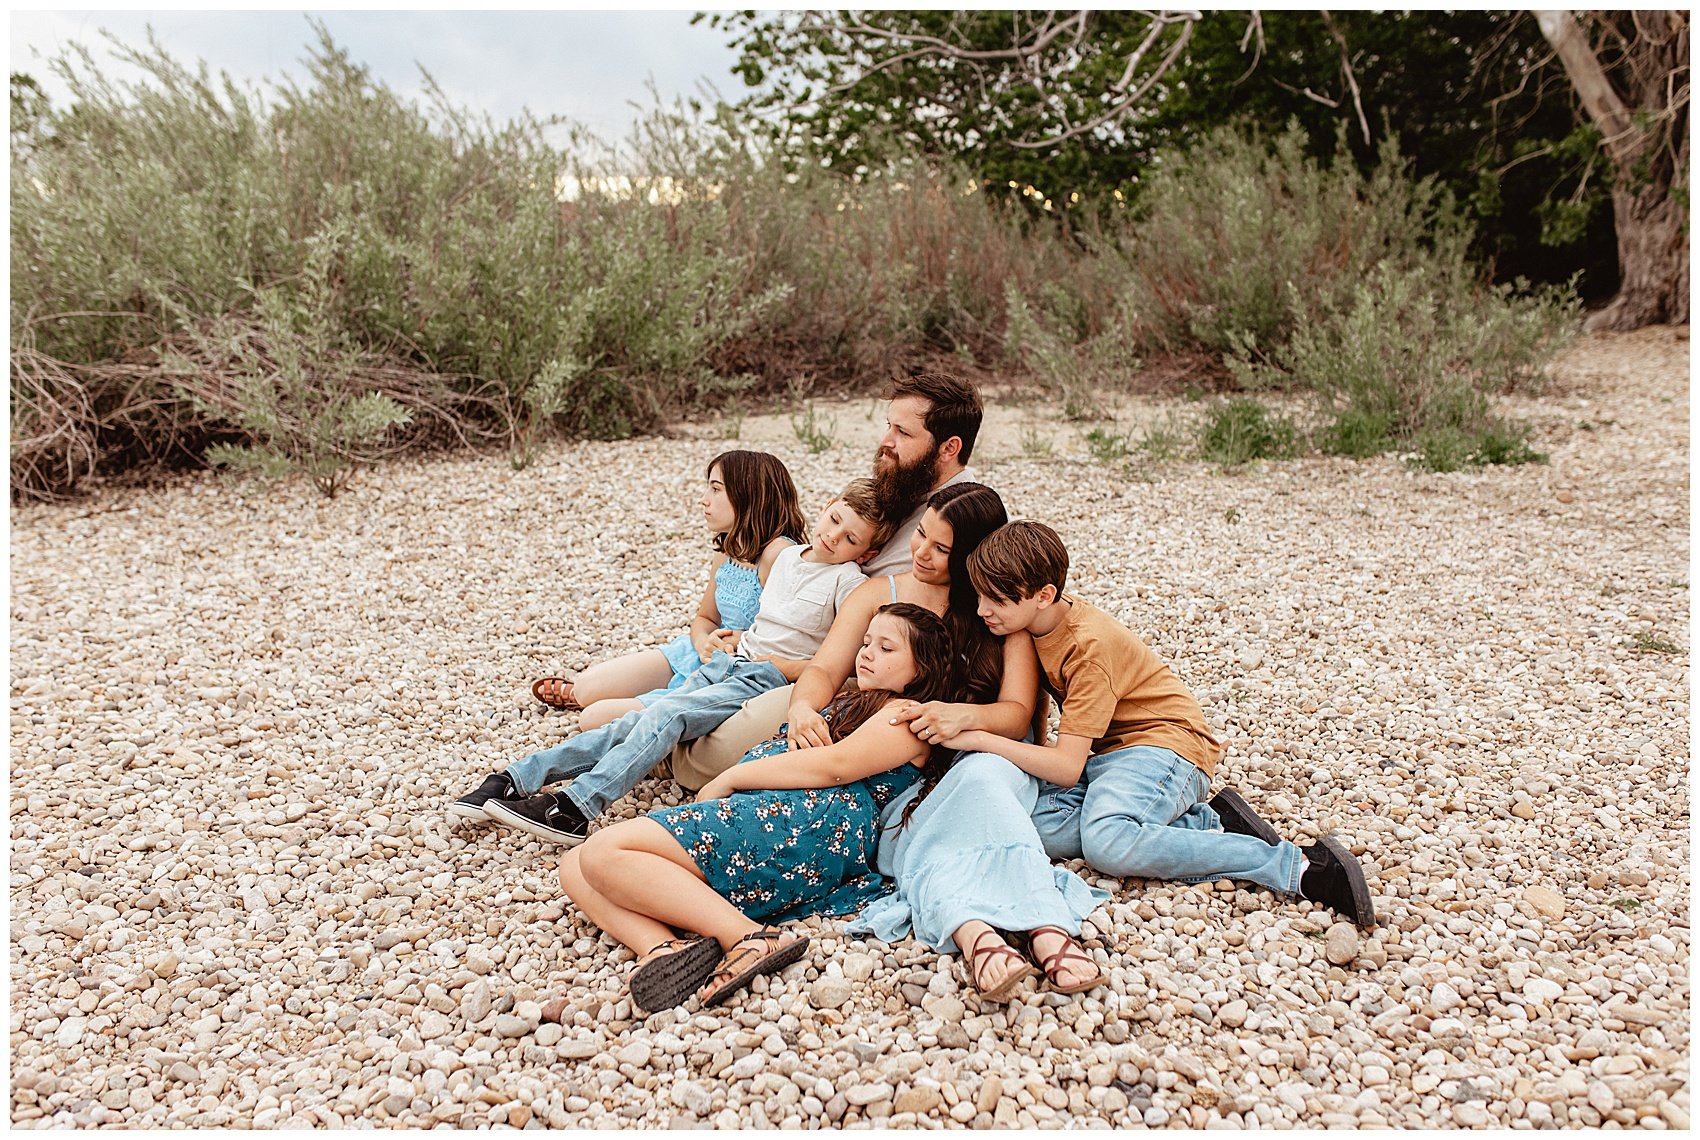
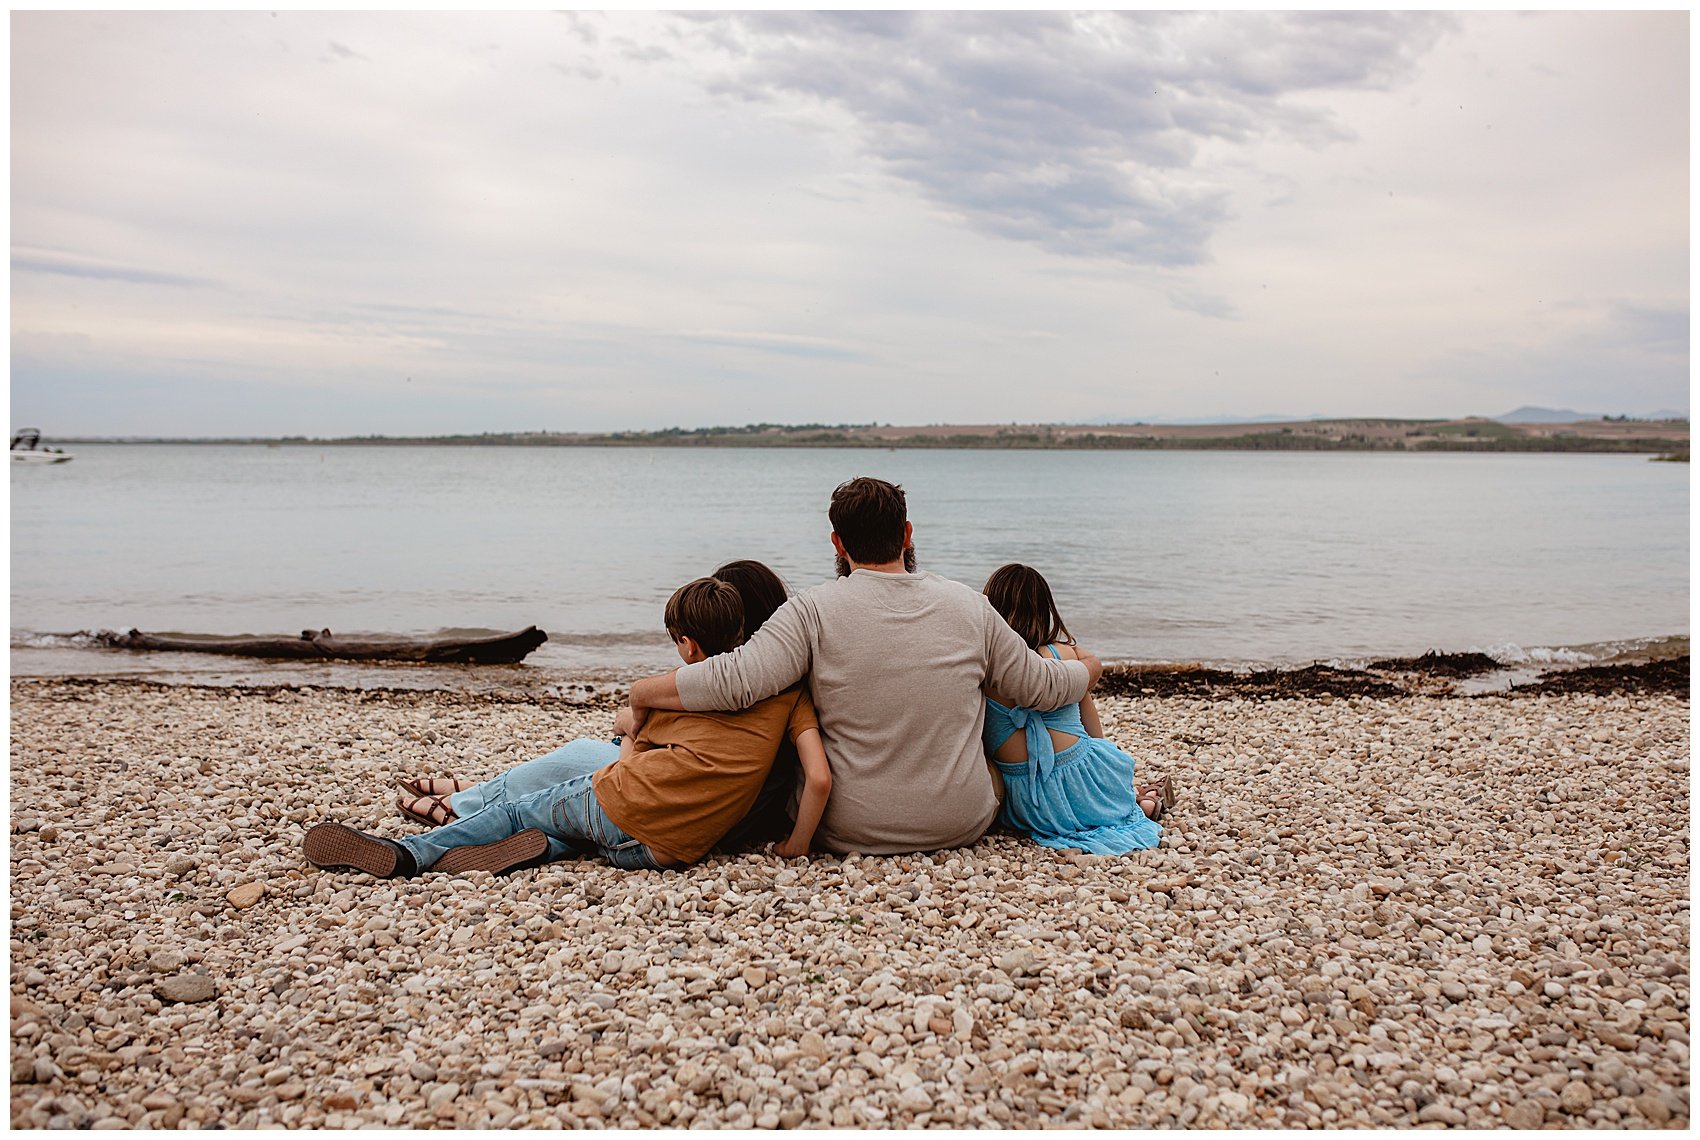
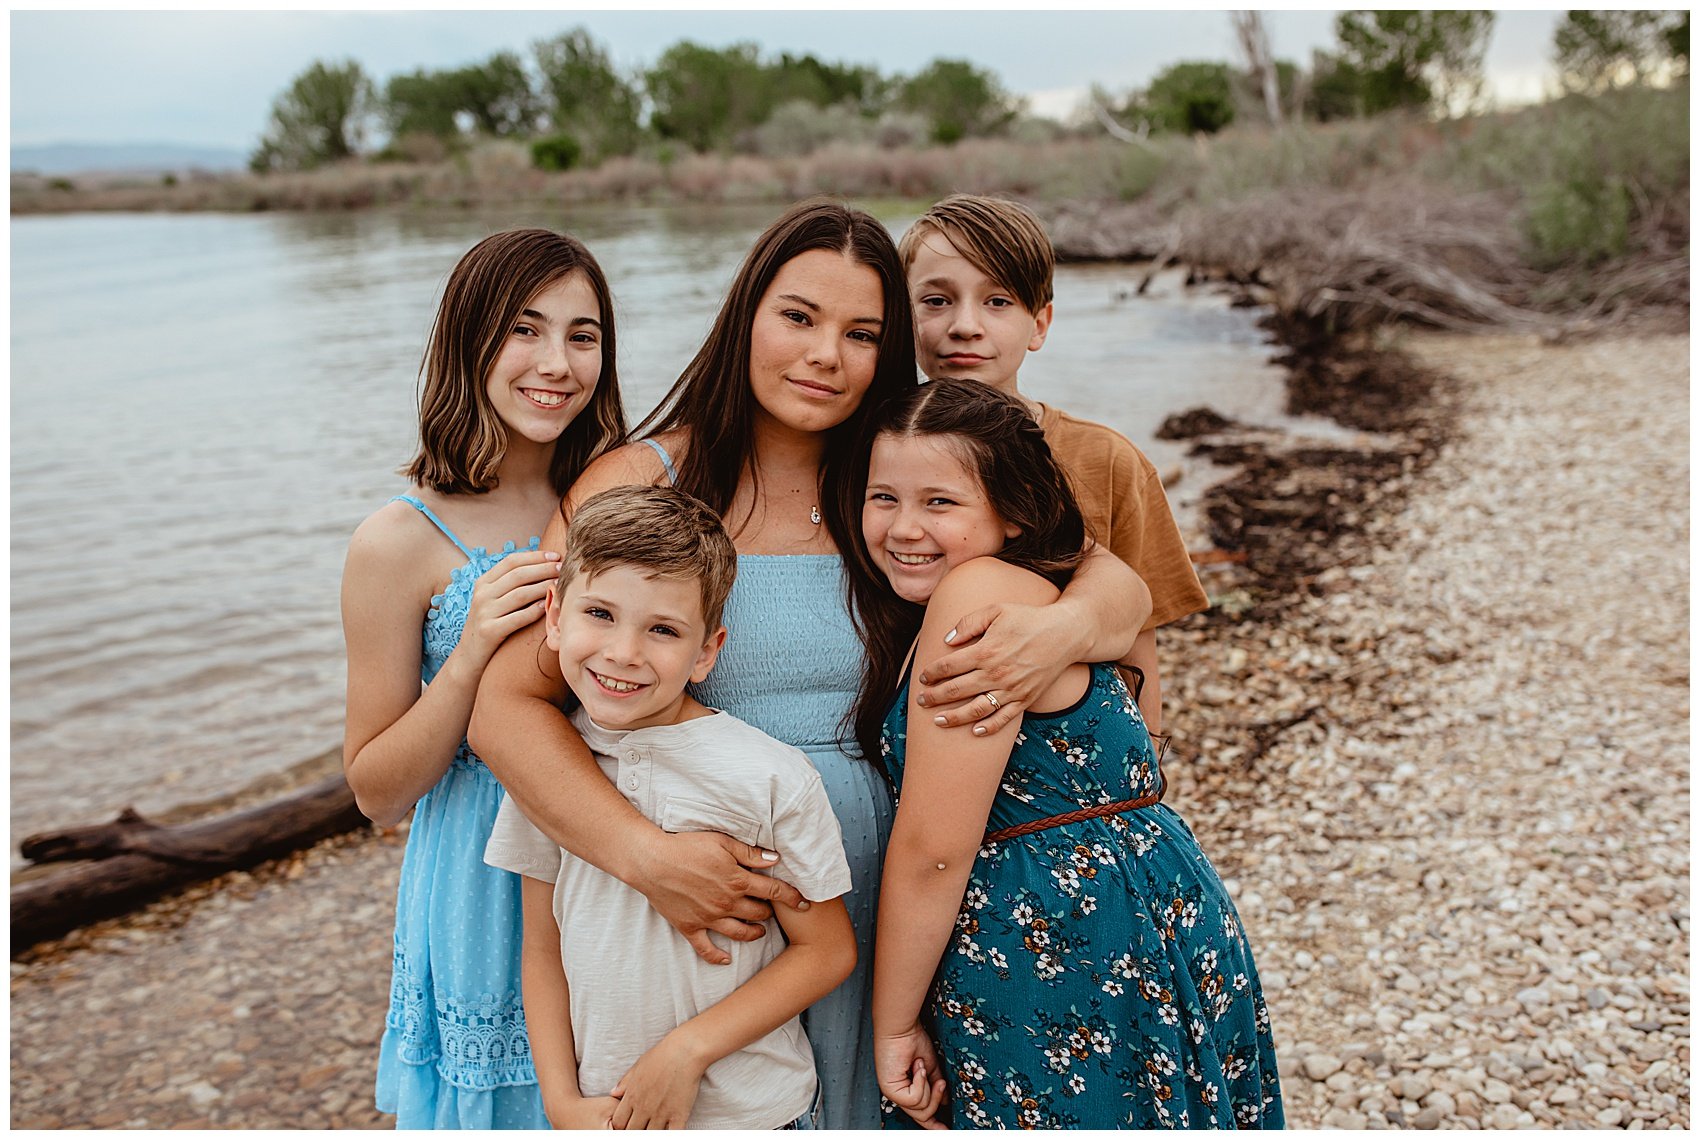
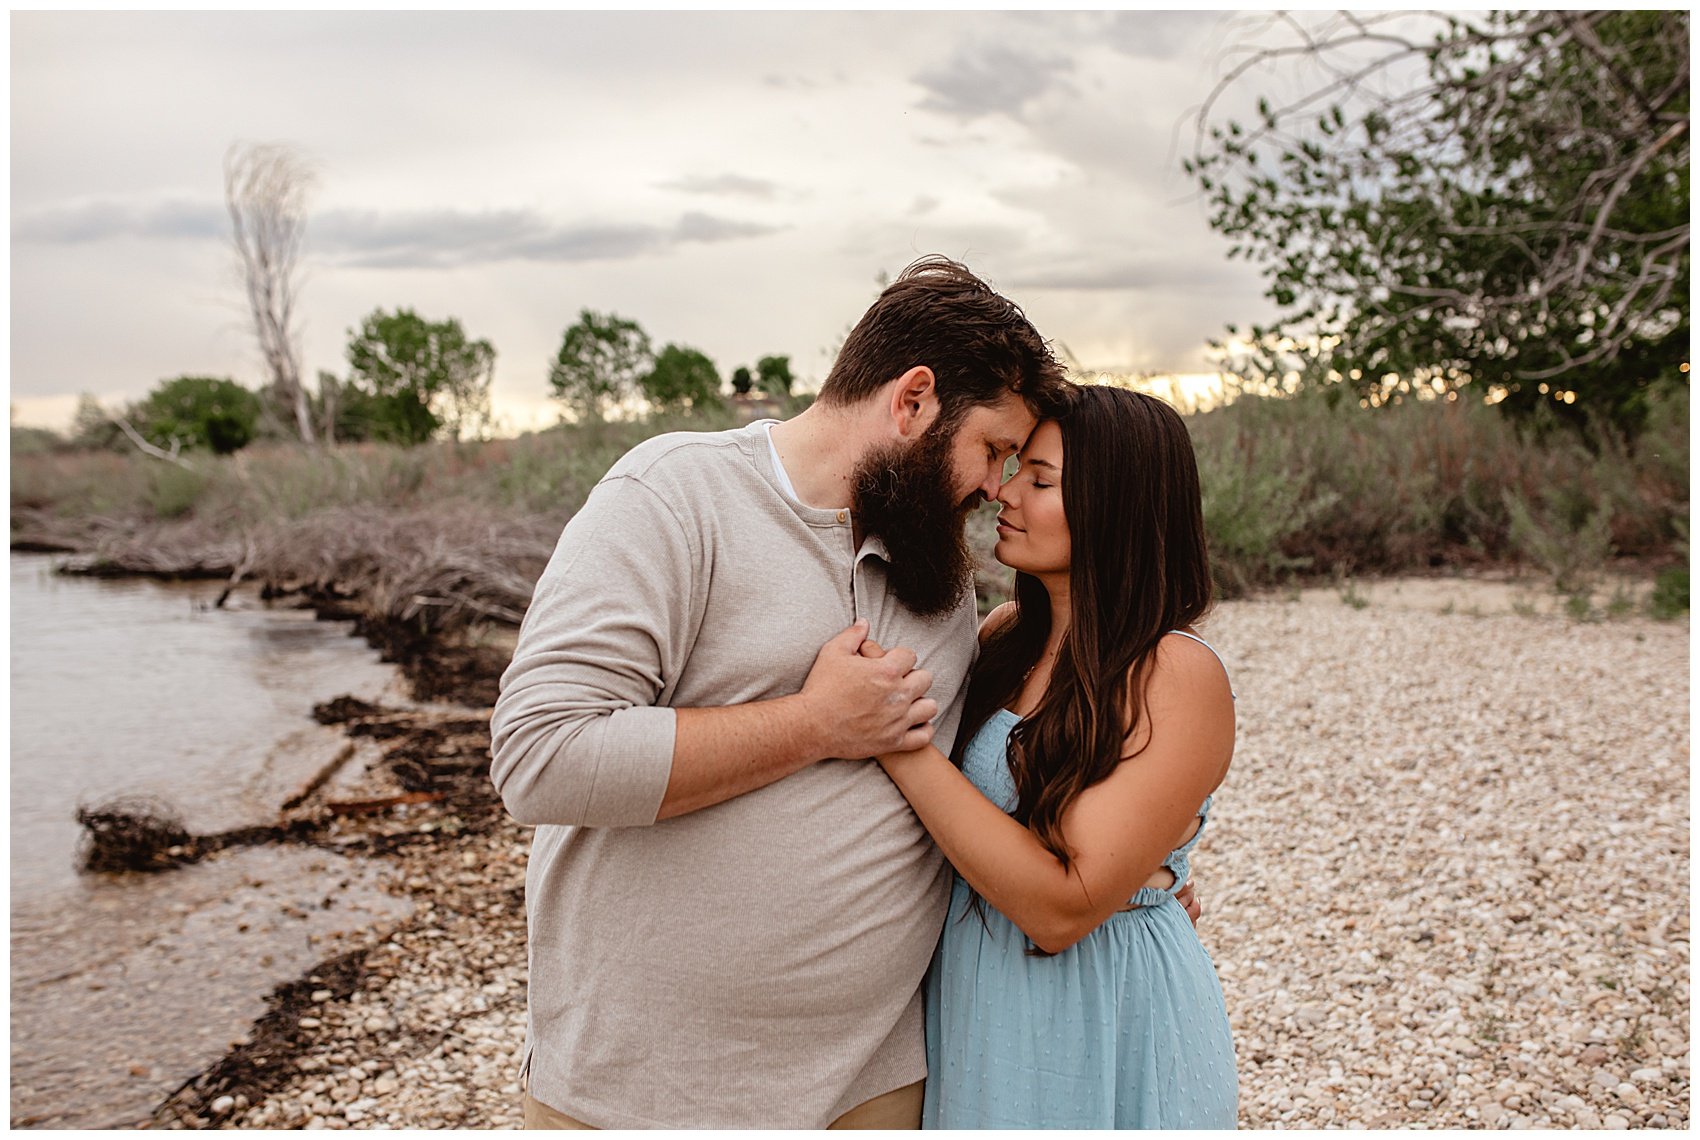
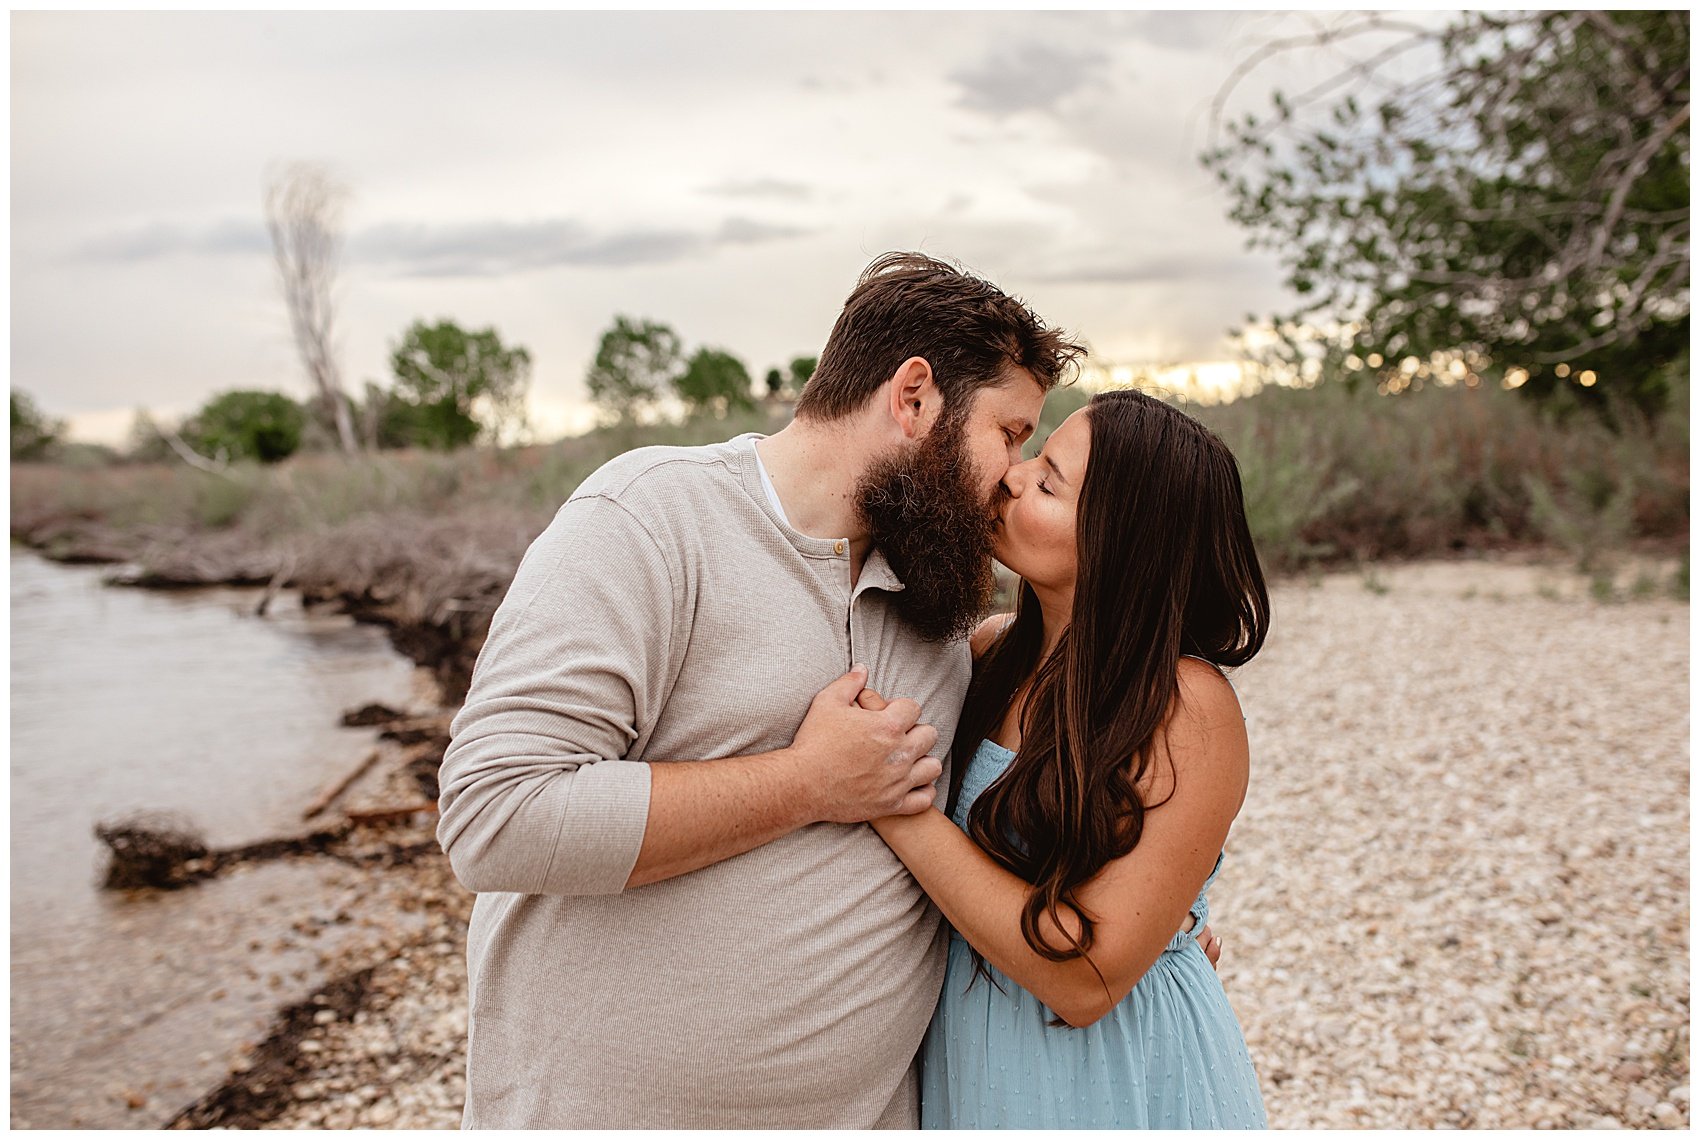
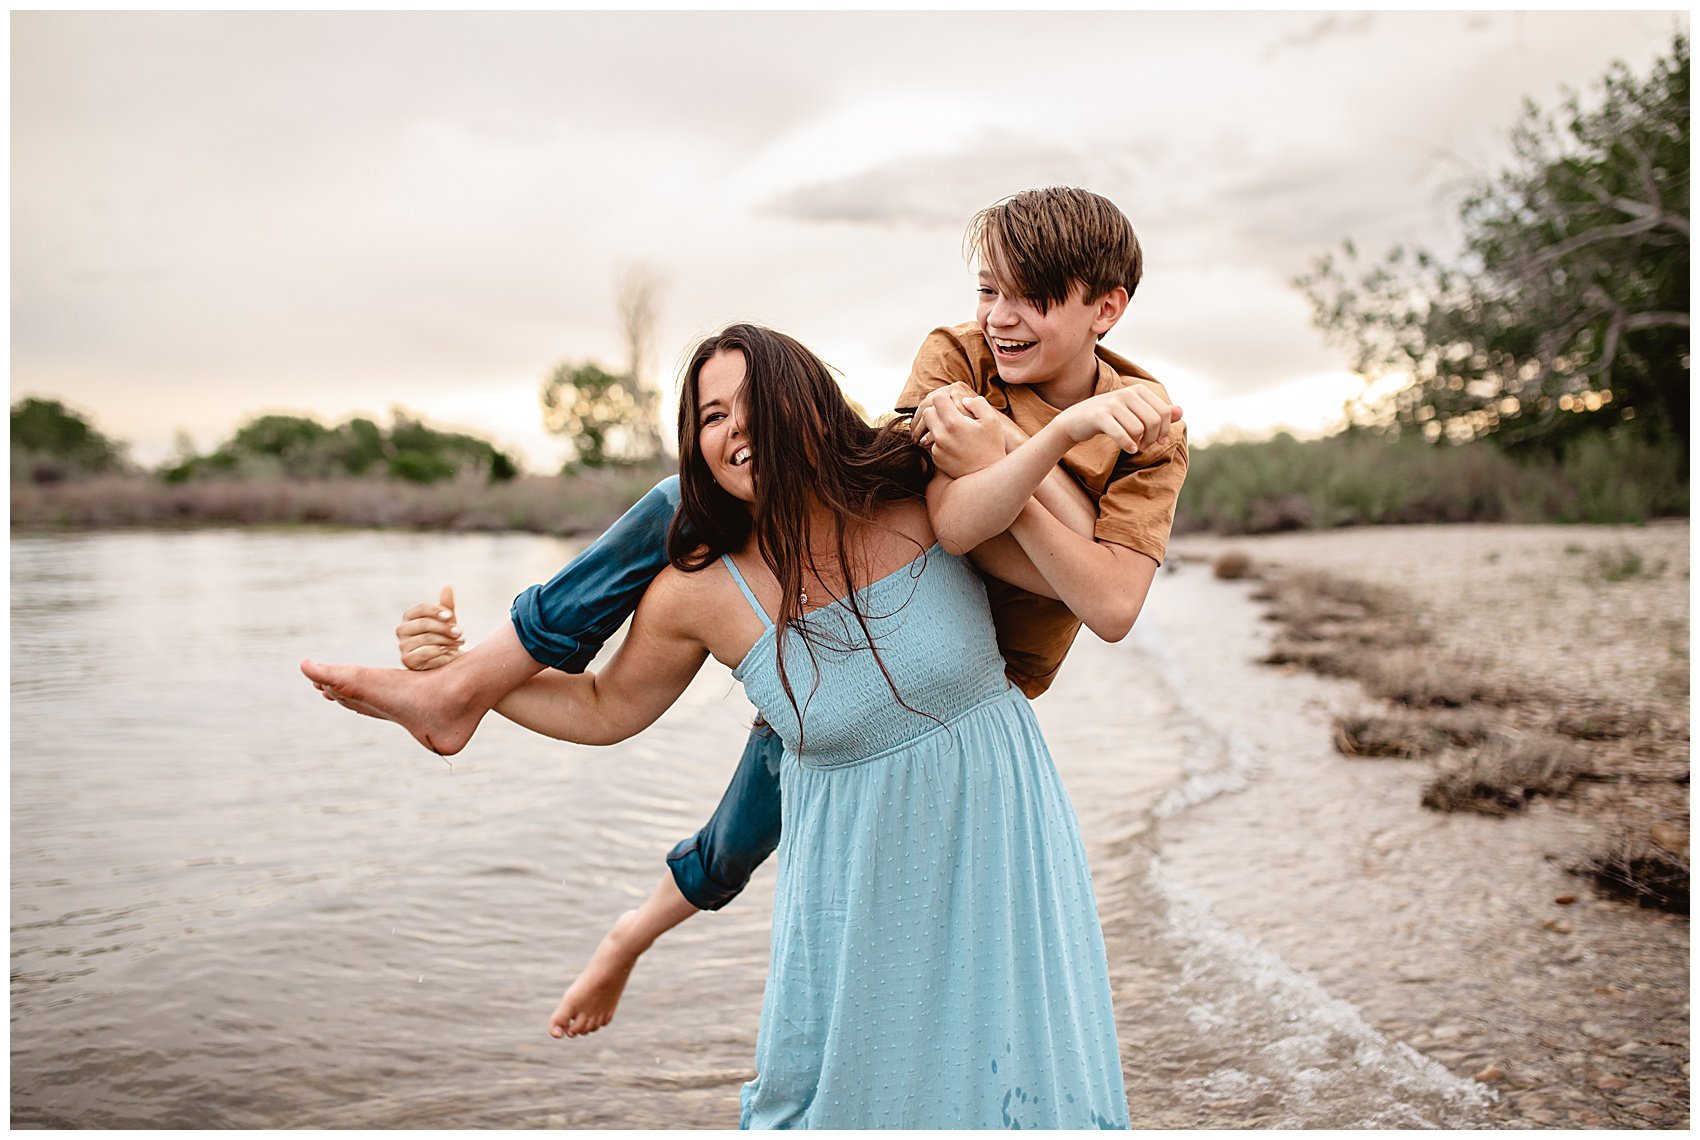
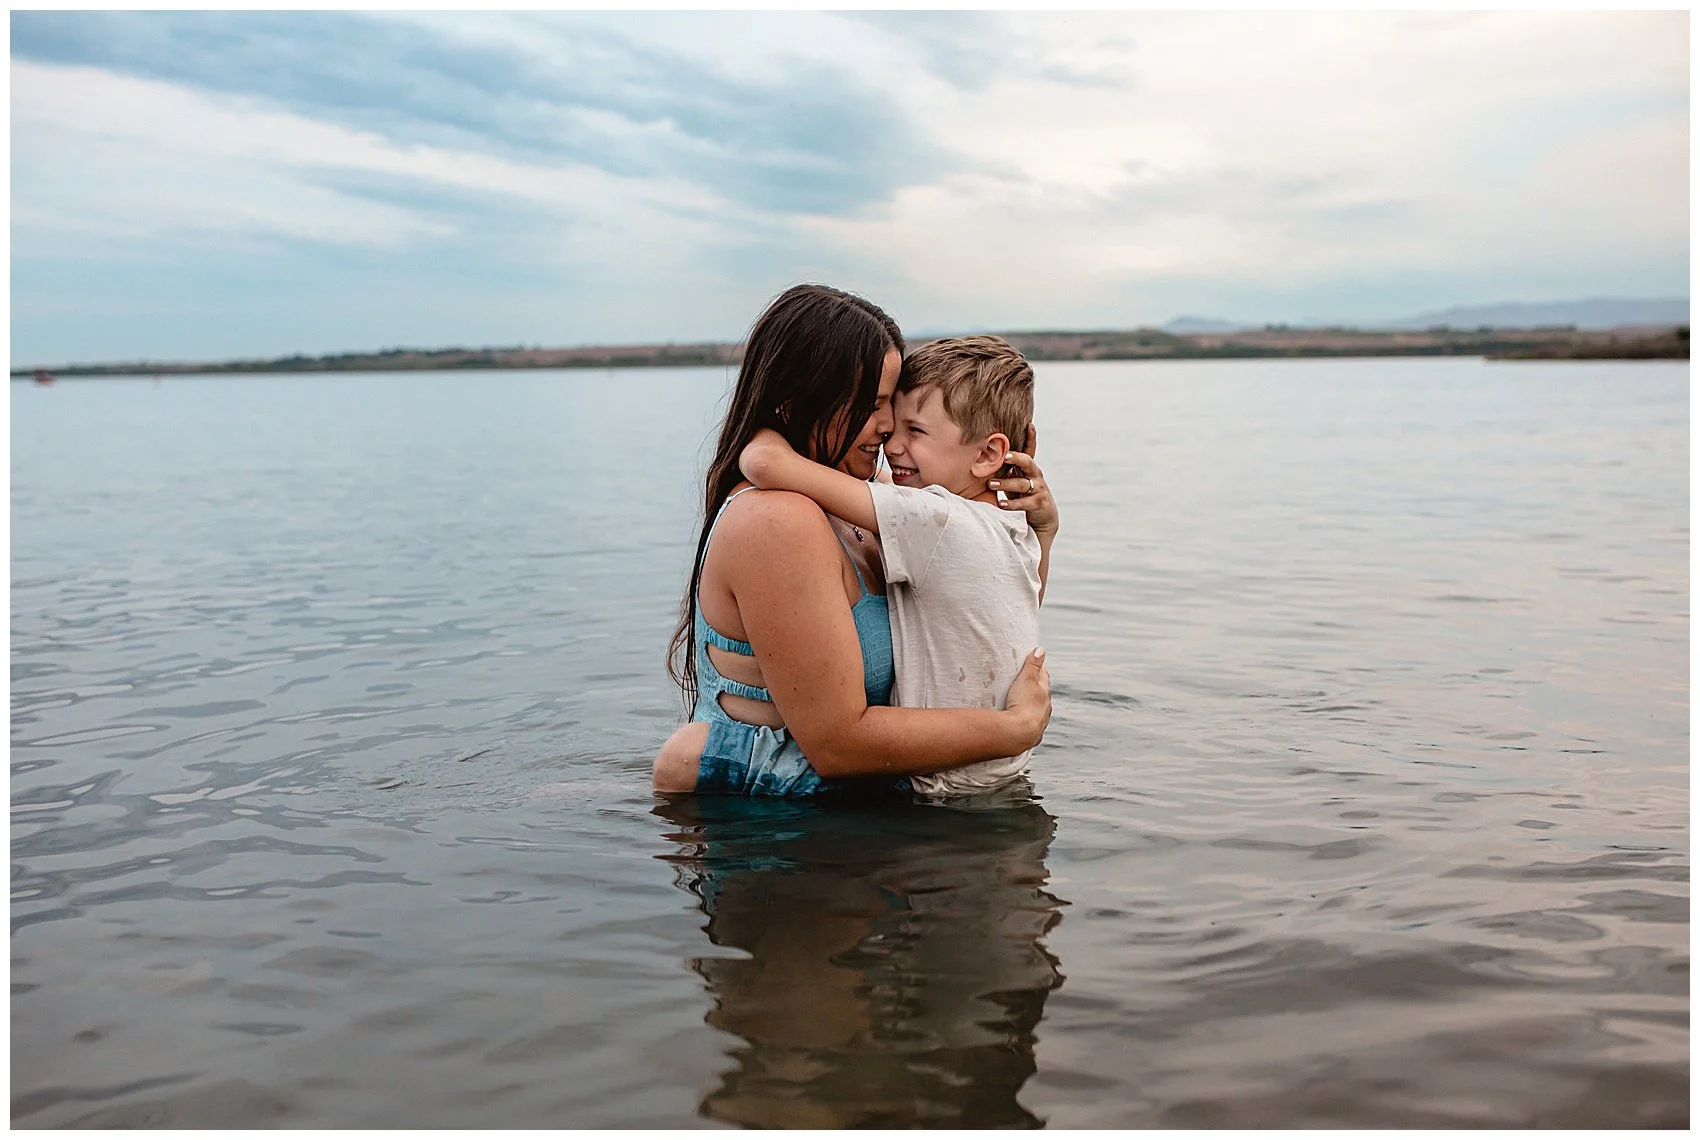
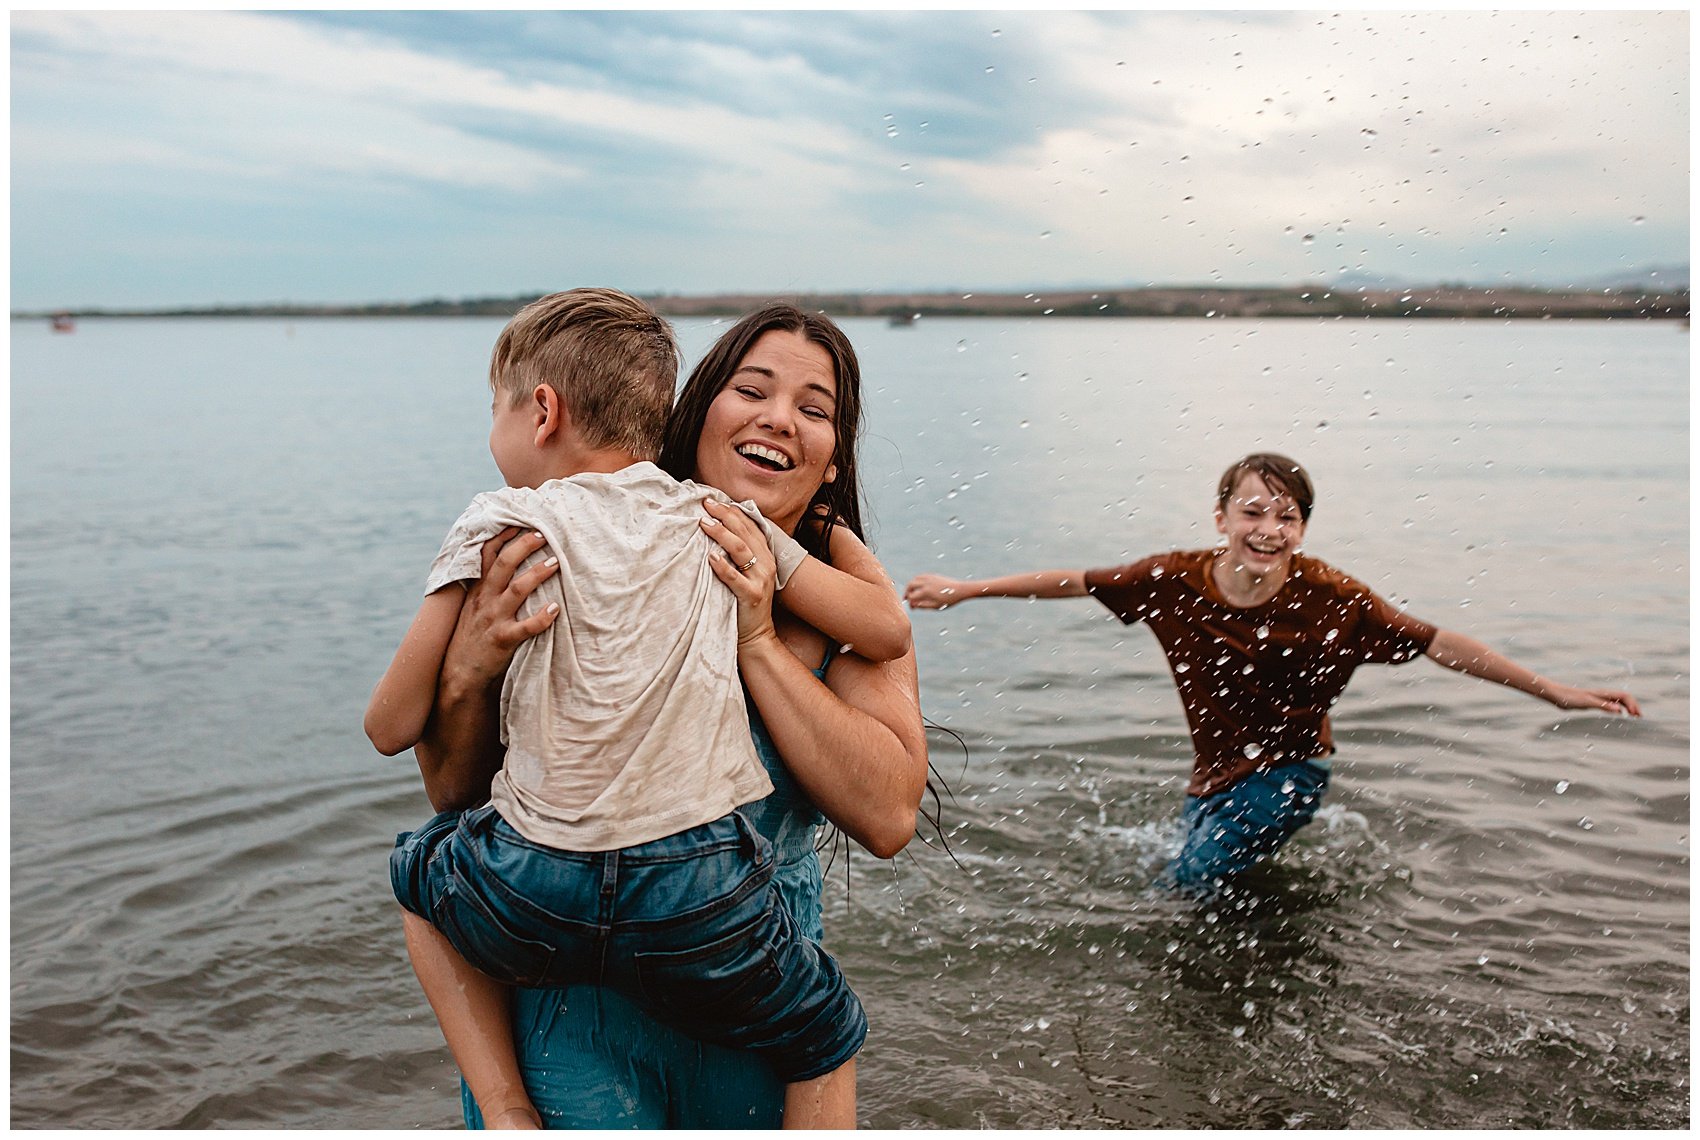
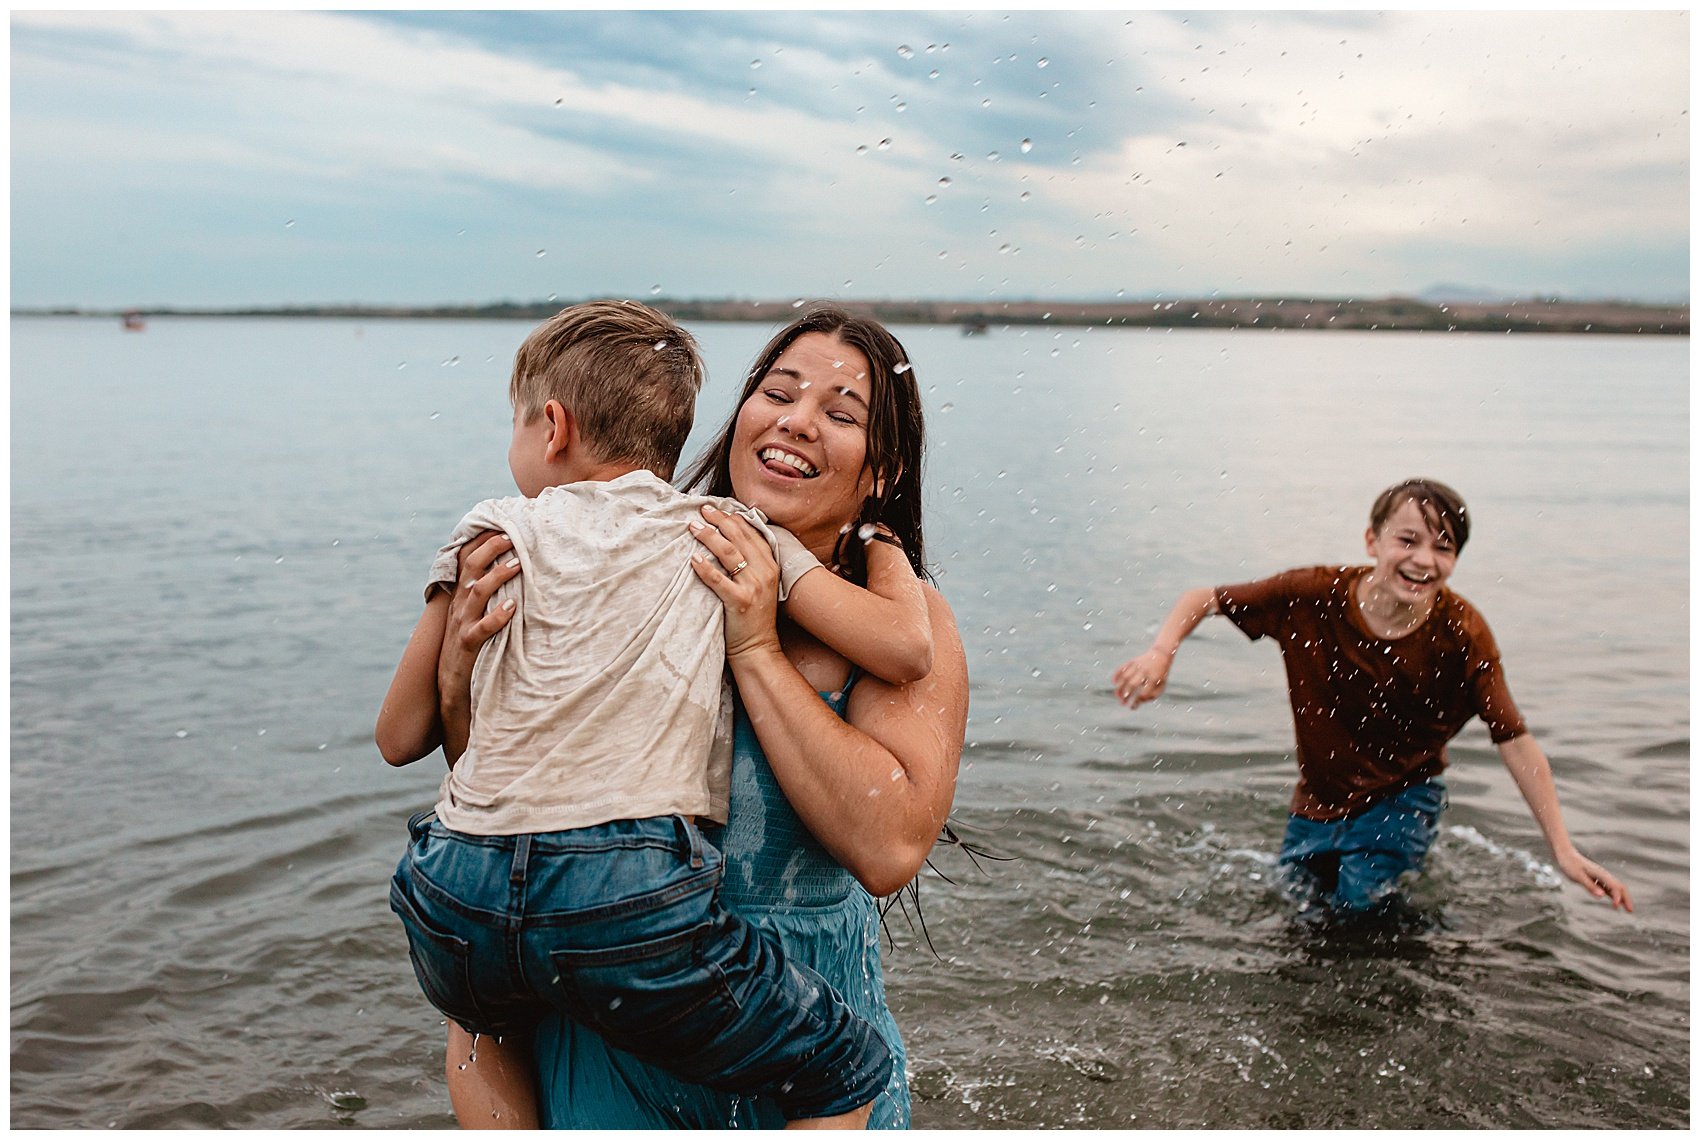
Below is an example of a full session with a beautiful family on a cloudy day. I was able to utilize multiple locations and directions that I typically wouldn’t have if it were sunny due to the direction of the sun in relation to the backgrounds. I loved how different the sky looked in each direction and how it gave a lot of variety to the shoot overall.